
If you’re like me and not very mechanical, the idea of building your own bike, whilst appealing, seems difficult, if not potentially dangerous. My mechanical skills are pretty basic, I can change and inner tube, a cassette, a chain, brake blocks and index my rear derailleur but that’s about it. Normally when I have work that needs to be done, I book in with my local bike shop and get them to do it for me.
However, over the years I’d read and heard of so many people building their own bikes, that I’ve been really keen to give it a go. None of my usual riding buddies are at all mechanical so I asked James from http://www.rpm90.com/ if he would mind overseeing me on a build and making sure that what I did was safe to ride.
James came over to my house for an afternoon and guided me through the following build process and also took the vast majority of the fantastic photos in this post. We worked on the GF_Ti build that featured here (http://girodilento.com/first-look-kinesis-gf_ti-v2/) and had a really nice build list.
If you’re going to have a go yourself – you can always get your local bike shop to fix it if you get it wrong or get stuck, it may or may not be great advice, but it’s true. You might also want to have a more experienced person with you like I did if you can. If you’re fitting a traditional external headset – it might make sense to get a shop to fit this and cut down the steerer at the same time if you know how many spacers you’ll be running.
This is far from an exhaustive list and it’s written from the point of view of a beginner rather than an experienced or knowledgeable person. James is highly experienced and I took his guidance but it’s my notes and any mistakes in the list below are mine alone. Treat it as a rough guide – because that is all it is.
Another tip that I’ve found helpful is to have a complete bike to check against as you build the new one if you can. Since this day with James, I’ve helped a friend fit a groupset and helped a friend build another bike. When we did the groupset – we had a bike to check against and it really helped. We didn’t for the second full build and that made it feel a little more tricky.
As a general principle – nearly everything needs greasing.
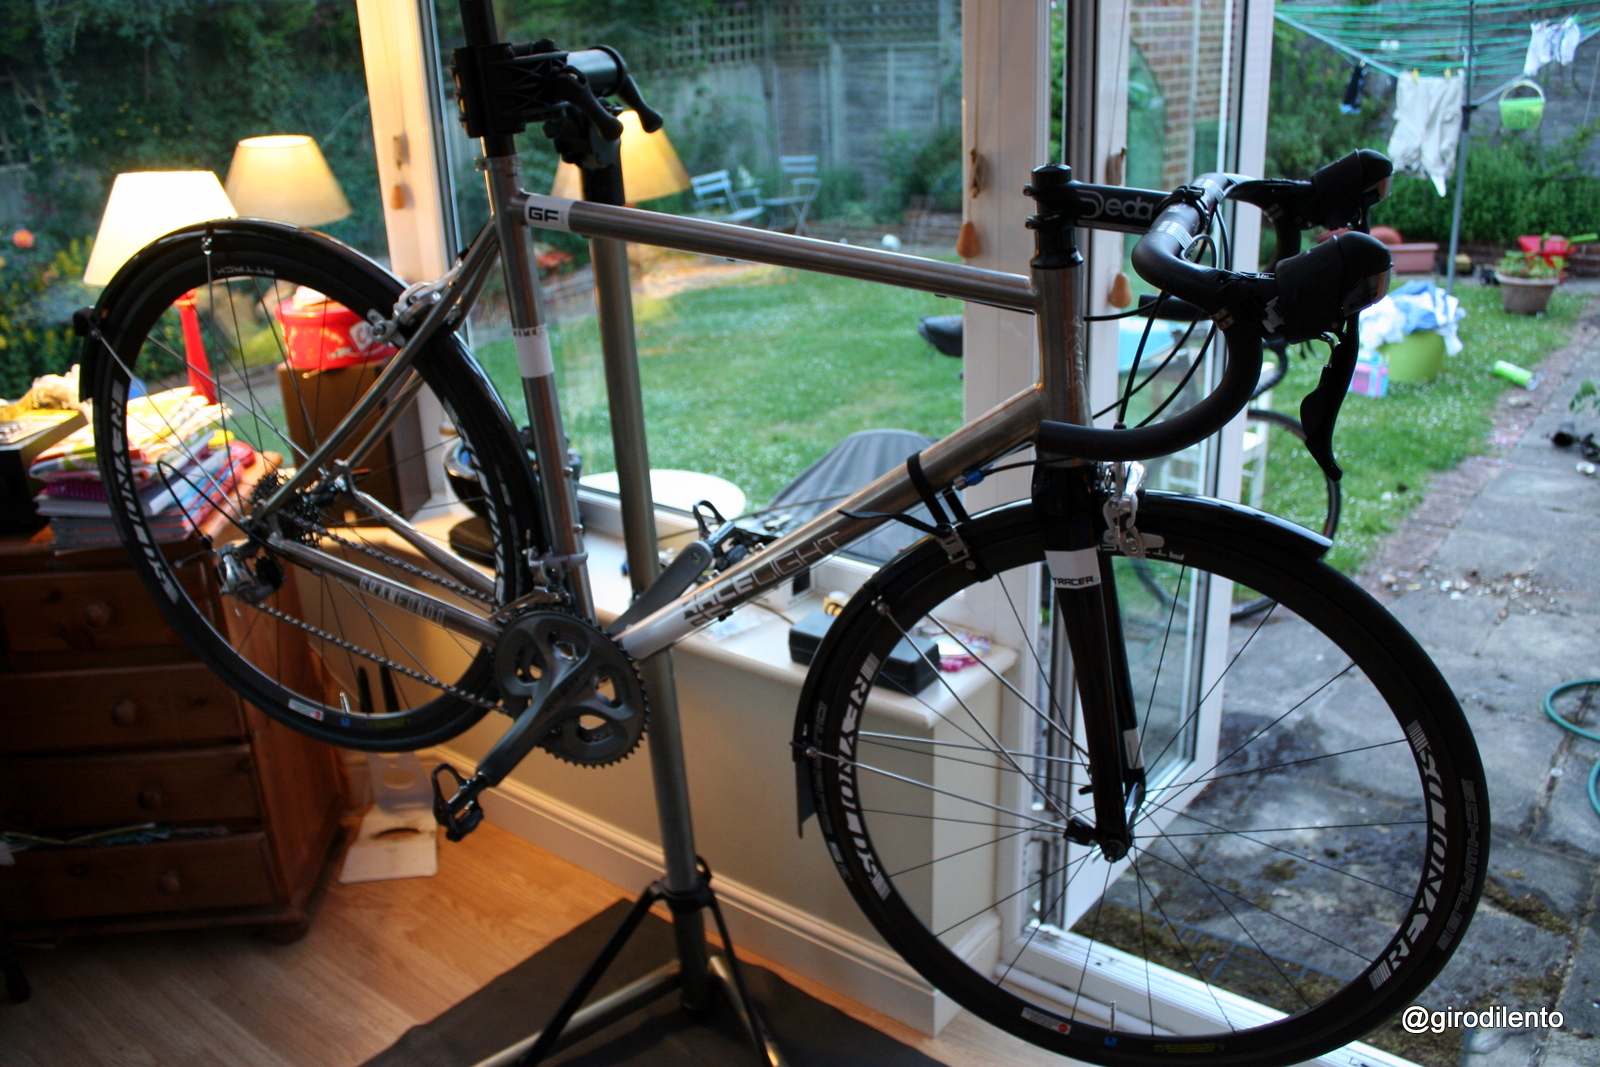
1) We started by putting a seatpost in the frame and putting the frame into a workstand.
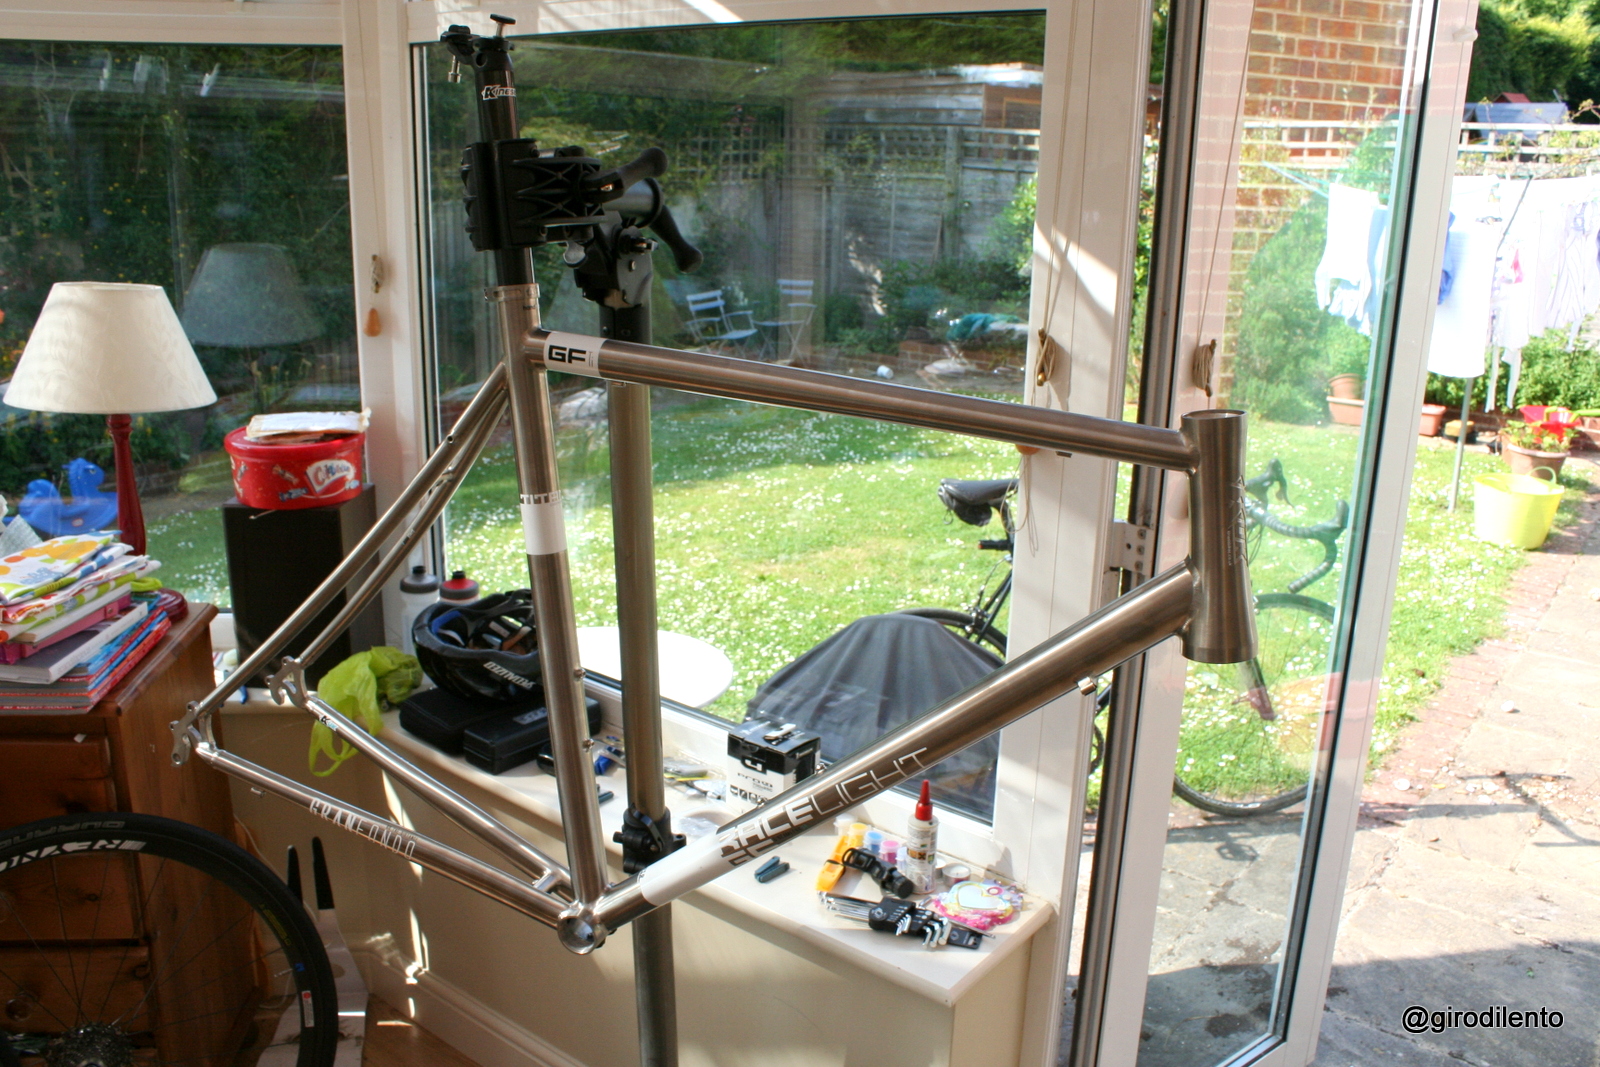
Ready to get started
2) We then checked that we had all of the components we needed for the build. In my case we were missing part of the clamp on the seatpost so we couldn’t fit the saddle at the end, which isn’t ideal for test riding. Fortunately we had everything we needed for the rest of the build.
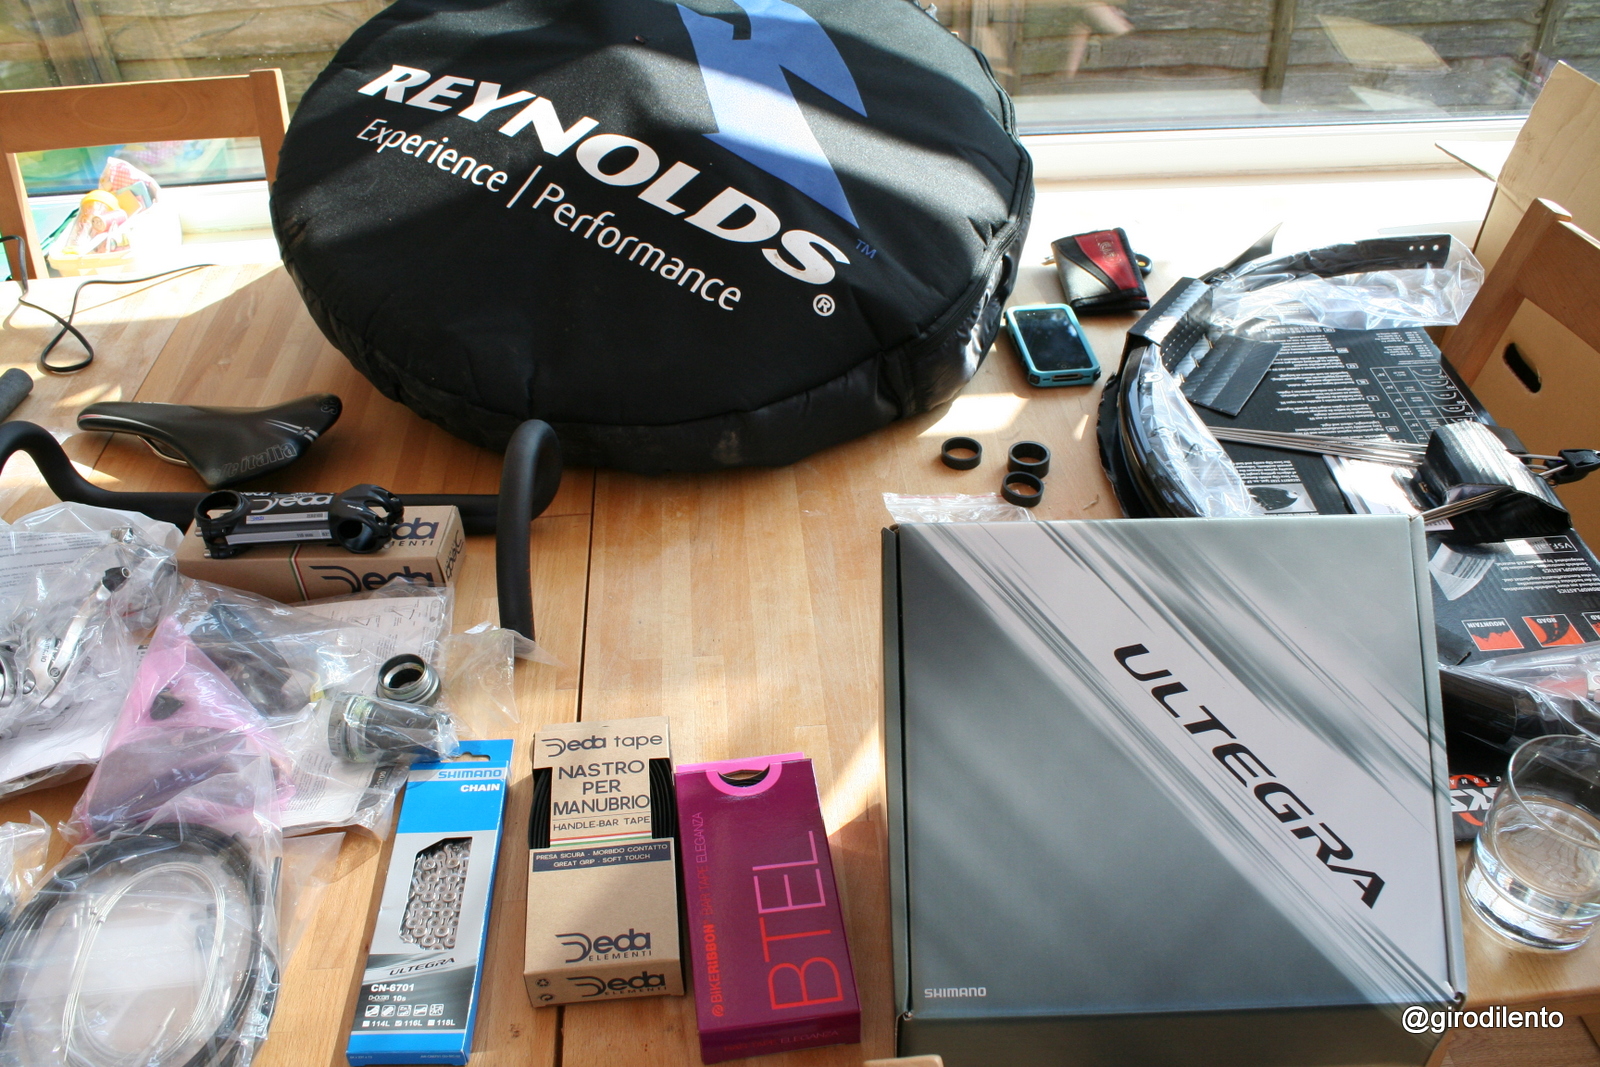
Checking we have everything we needed
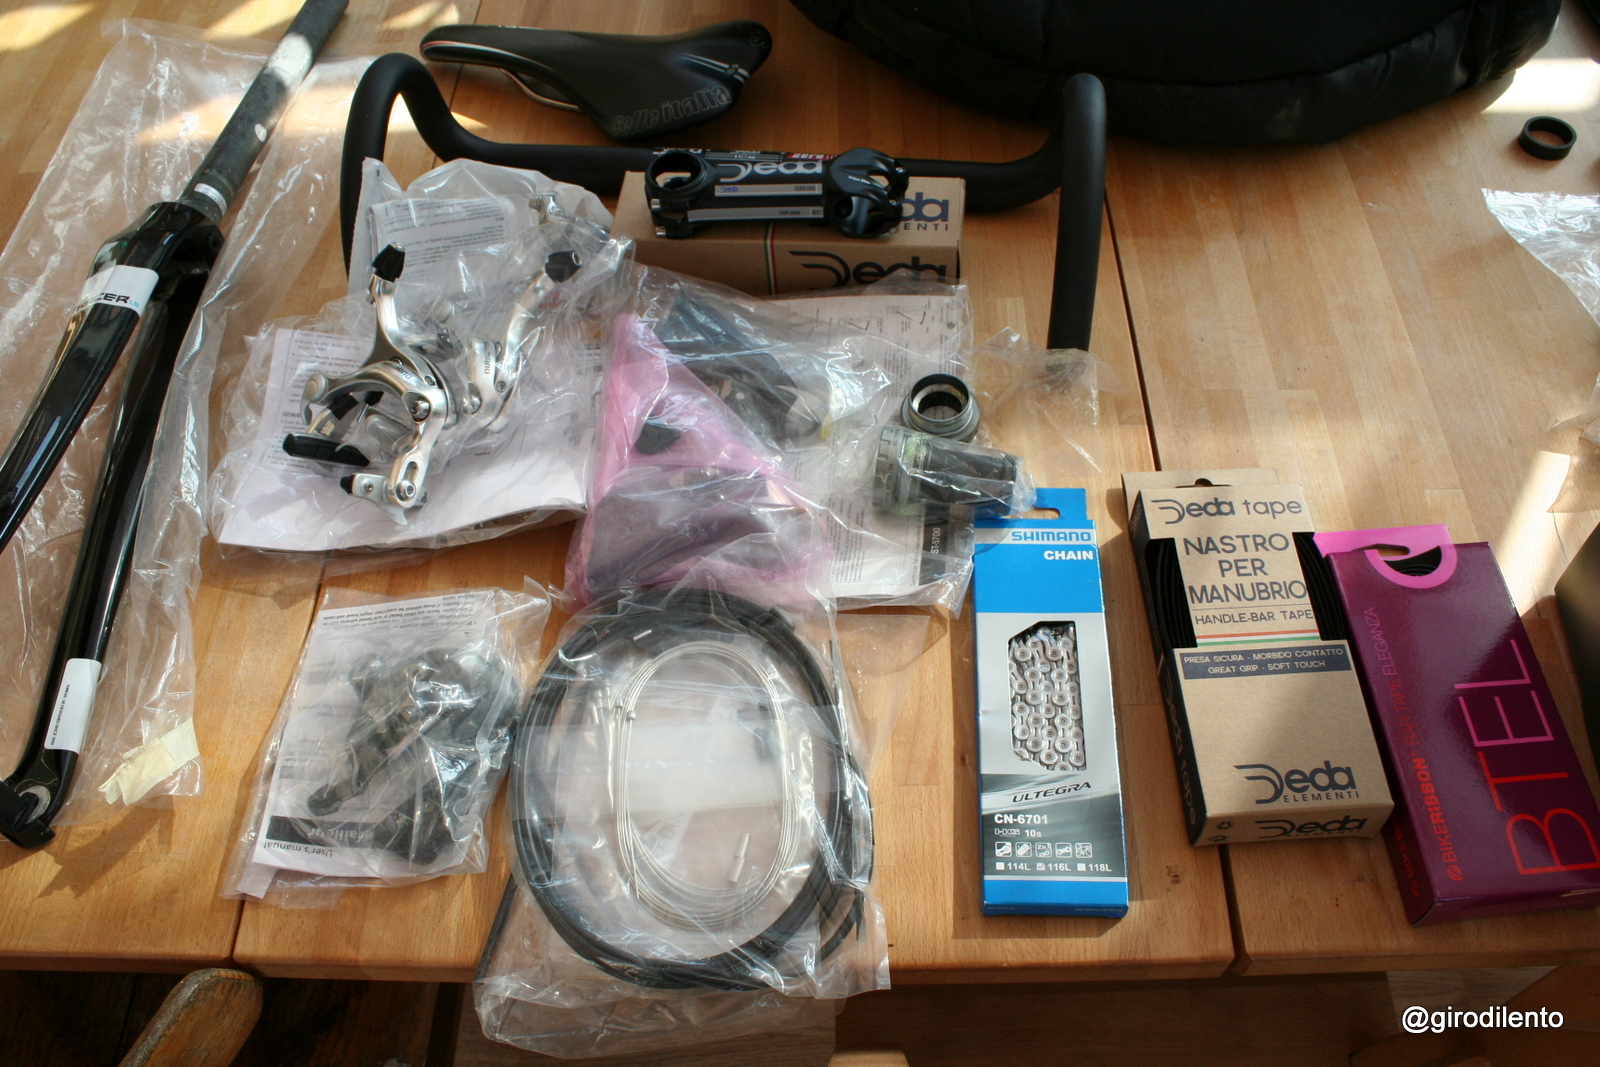
The rest of the bits and pieces
3) Fit the headset and put grease in the headtube where the headset sits. With an integrated headset it just sits in the headtube at the top and sits with the fork crown at the bottom – so you’ll need to slide the fork in too.
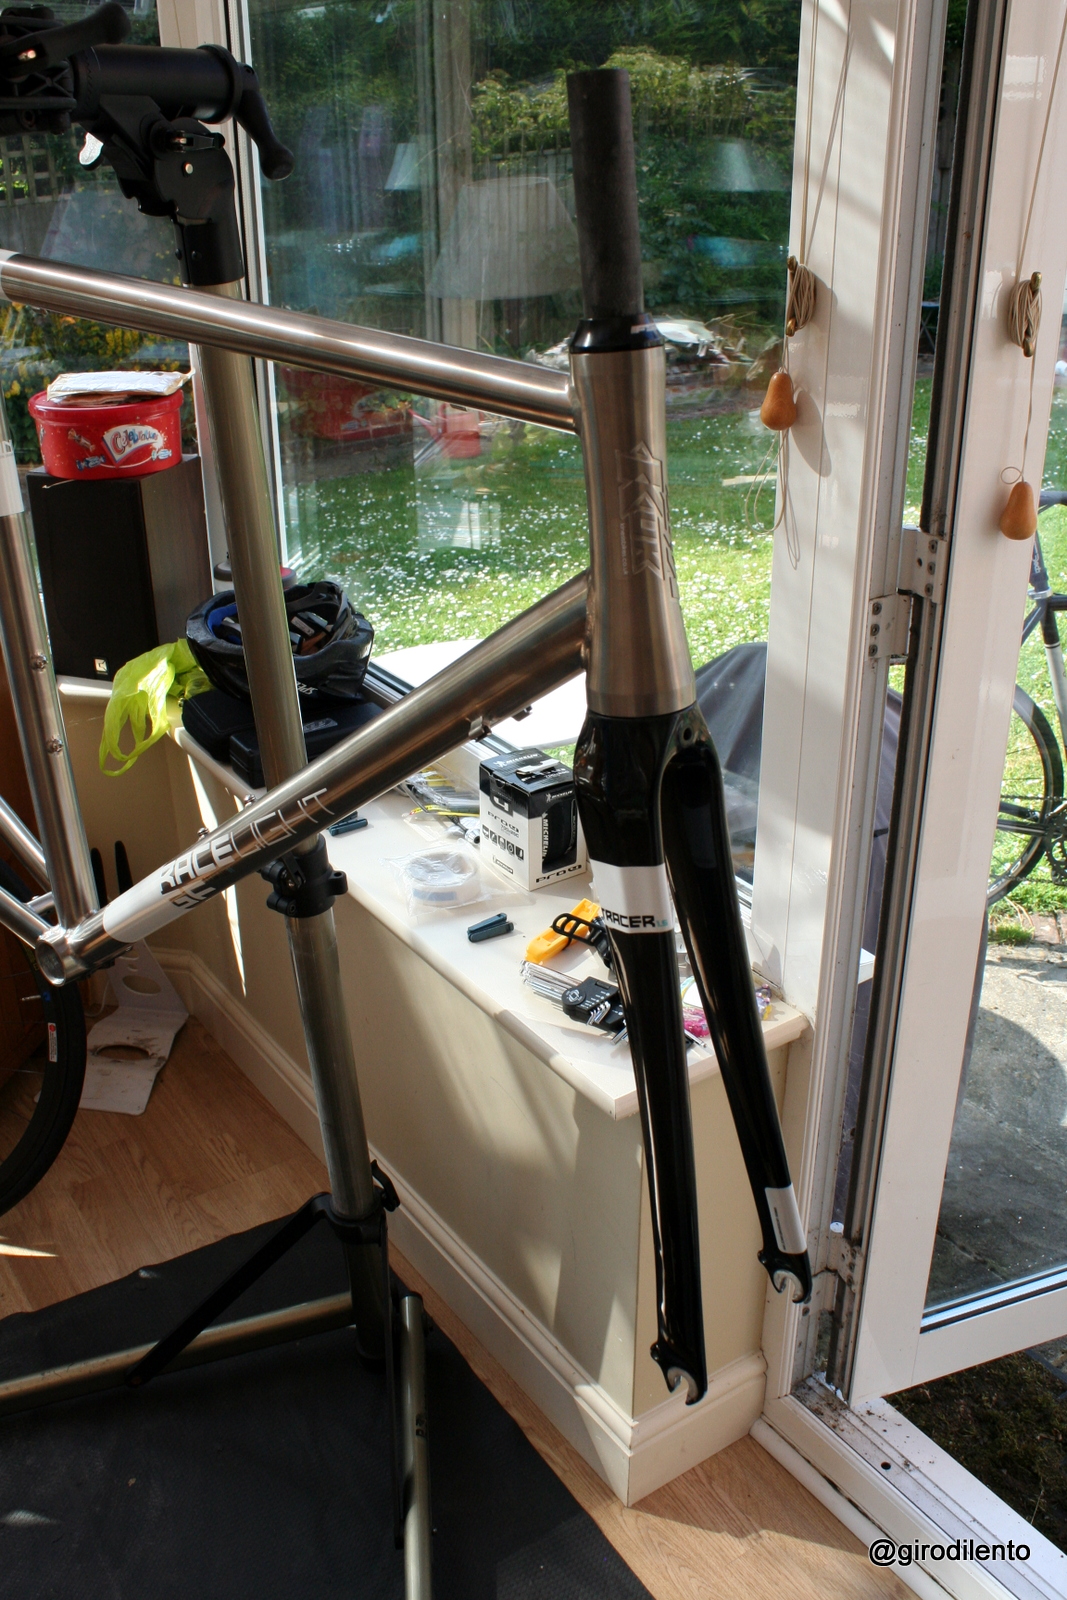
Headset and fork fitted
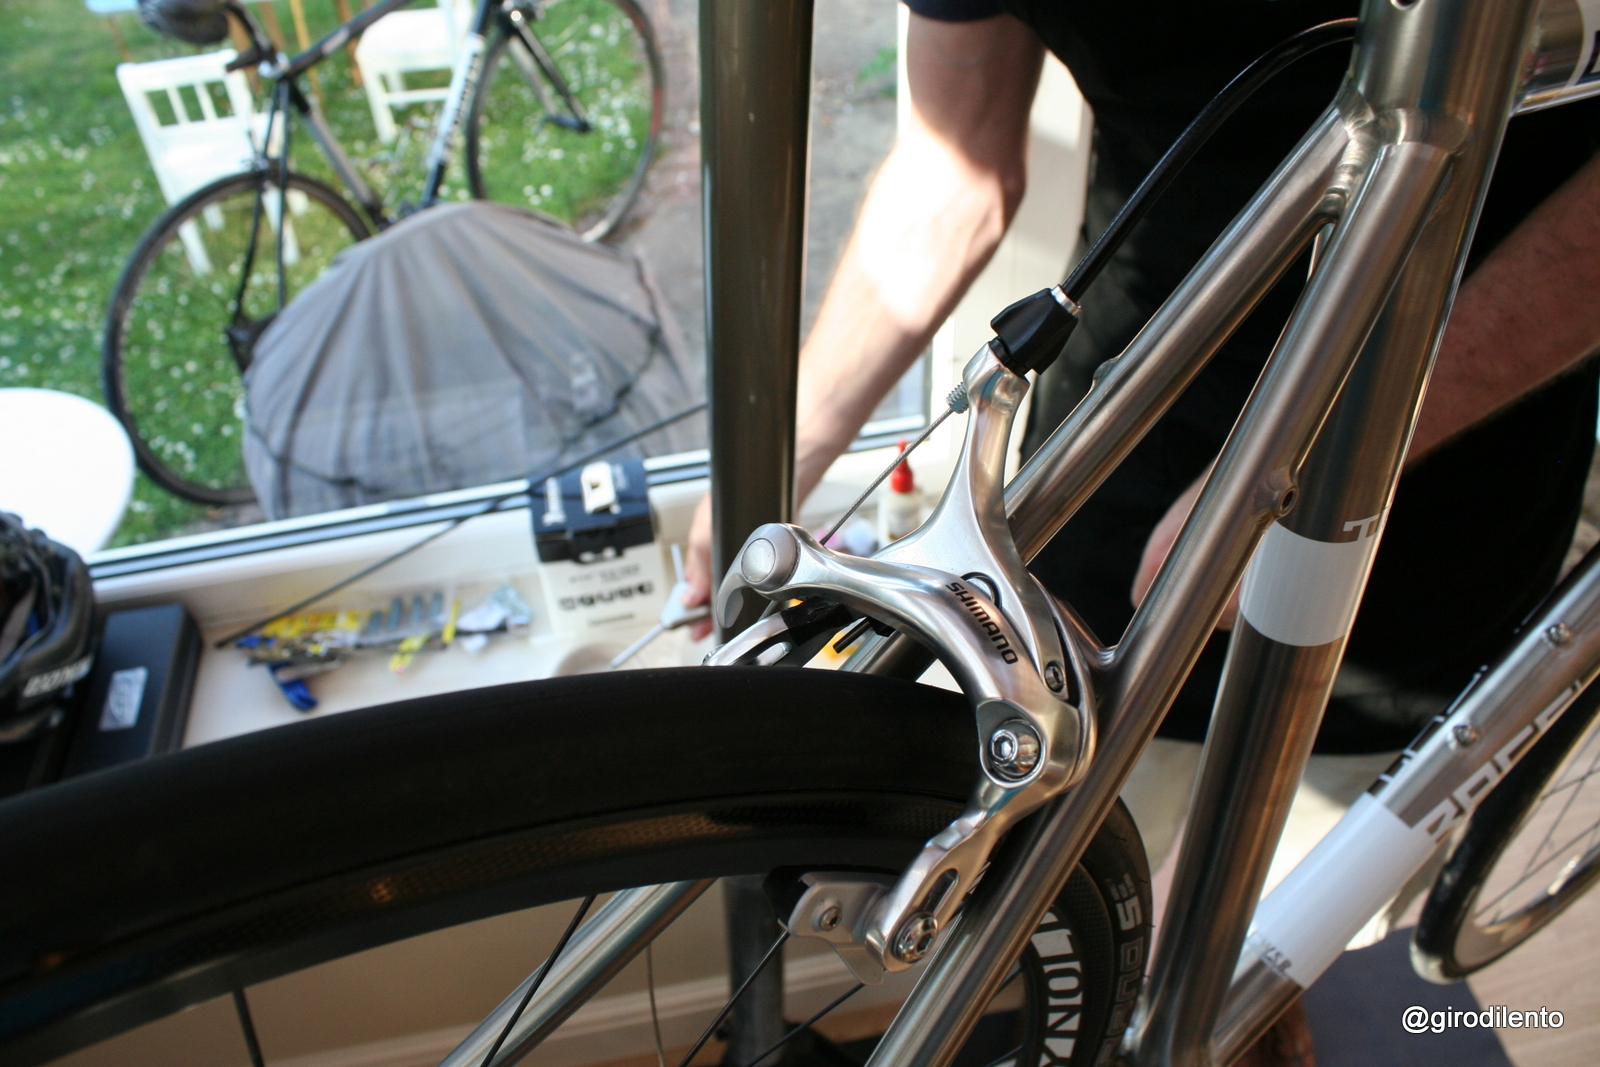
4) Fit the brake calipers and rear mech. Grease the bolts on the calipers and the adjusters. Any excess grease will come out and can be wiped off then.
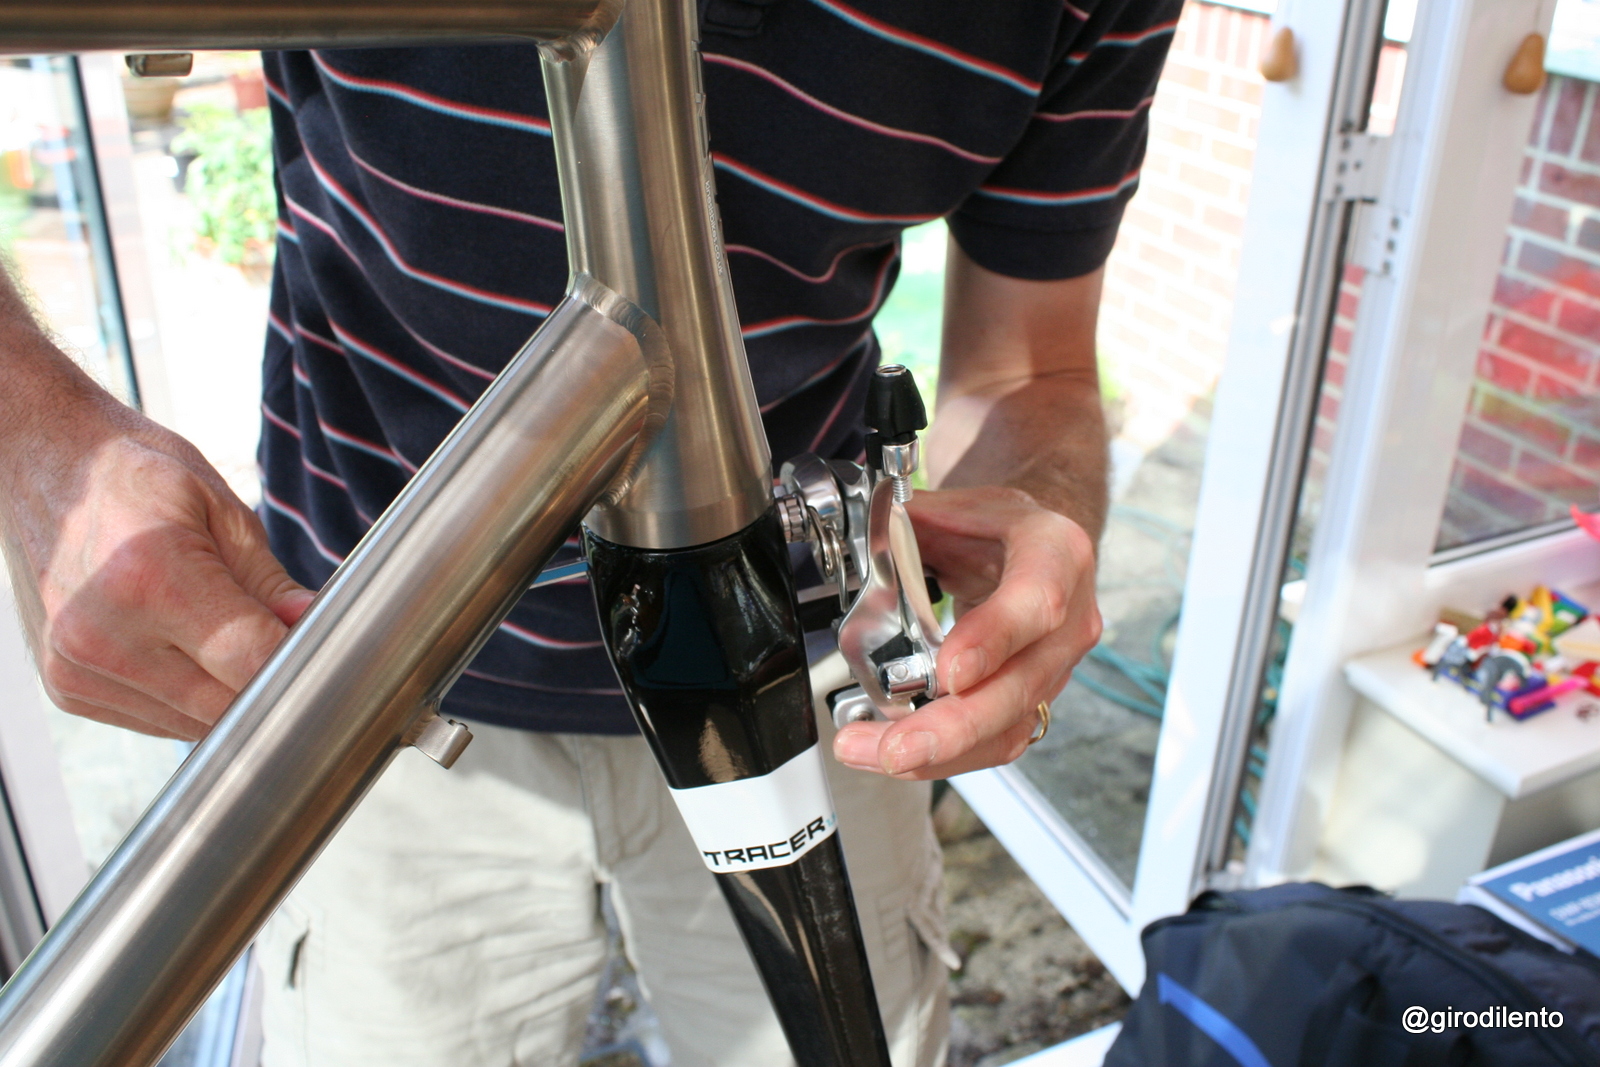
Attaching the front caliper
Fitting the rear caliper
5) Measure from the front axle to the top of the stem for the front end height or fit the number of spacers you want, then the stem to determine how much of the steerer tube needs to be cut down. Measure twice or three times – as you can only cut it once and you really don’t want to get this wrong. See my earlier bike shop suggestion for this too,if you’re not confident.

Measuring for cutting the fork steerer
6) Cut the steerer tube (James did this, using an old stem as a guide (in the absence of a vice)) and using a hacksaw. Re-fit the fork
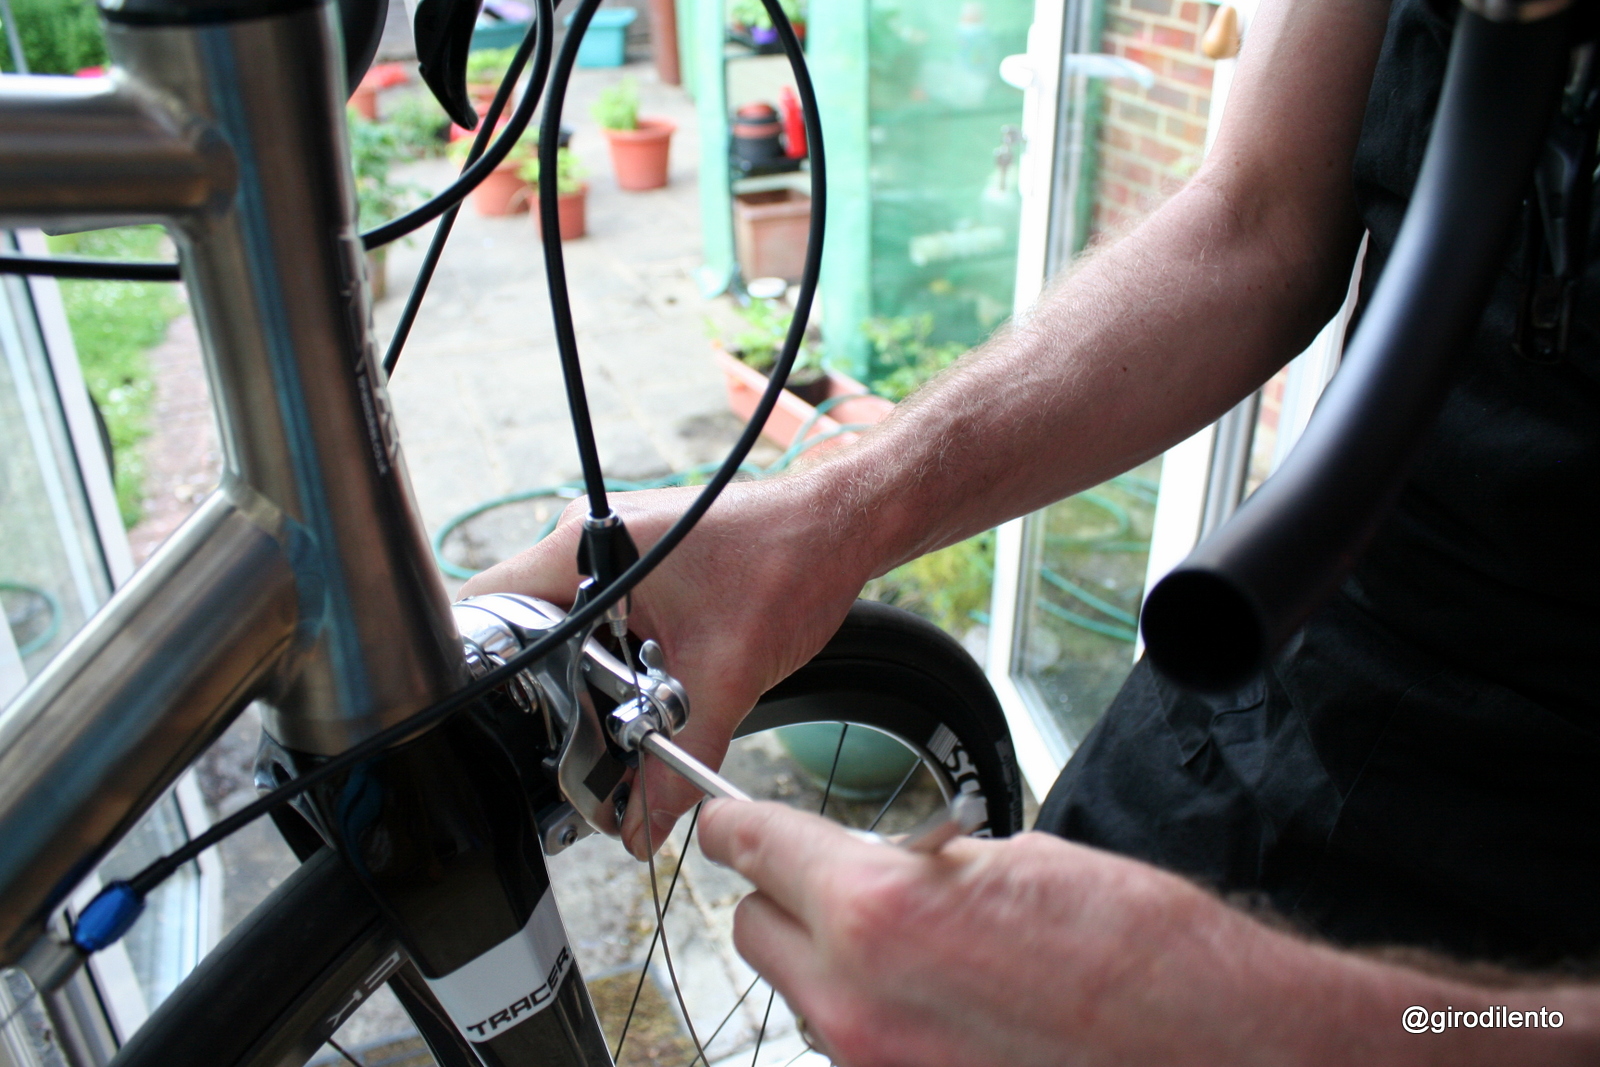
7) Put the wheels in
Front wheel in and secured
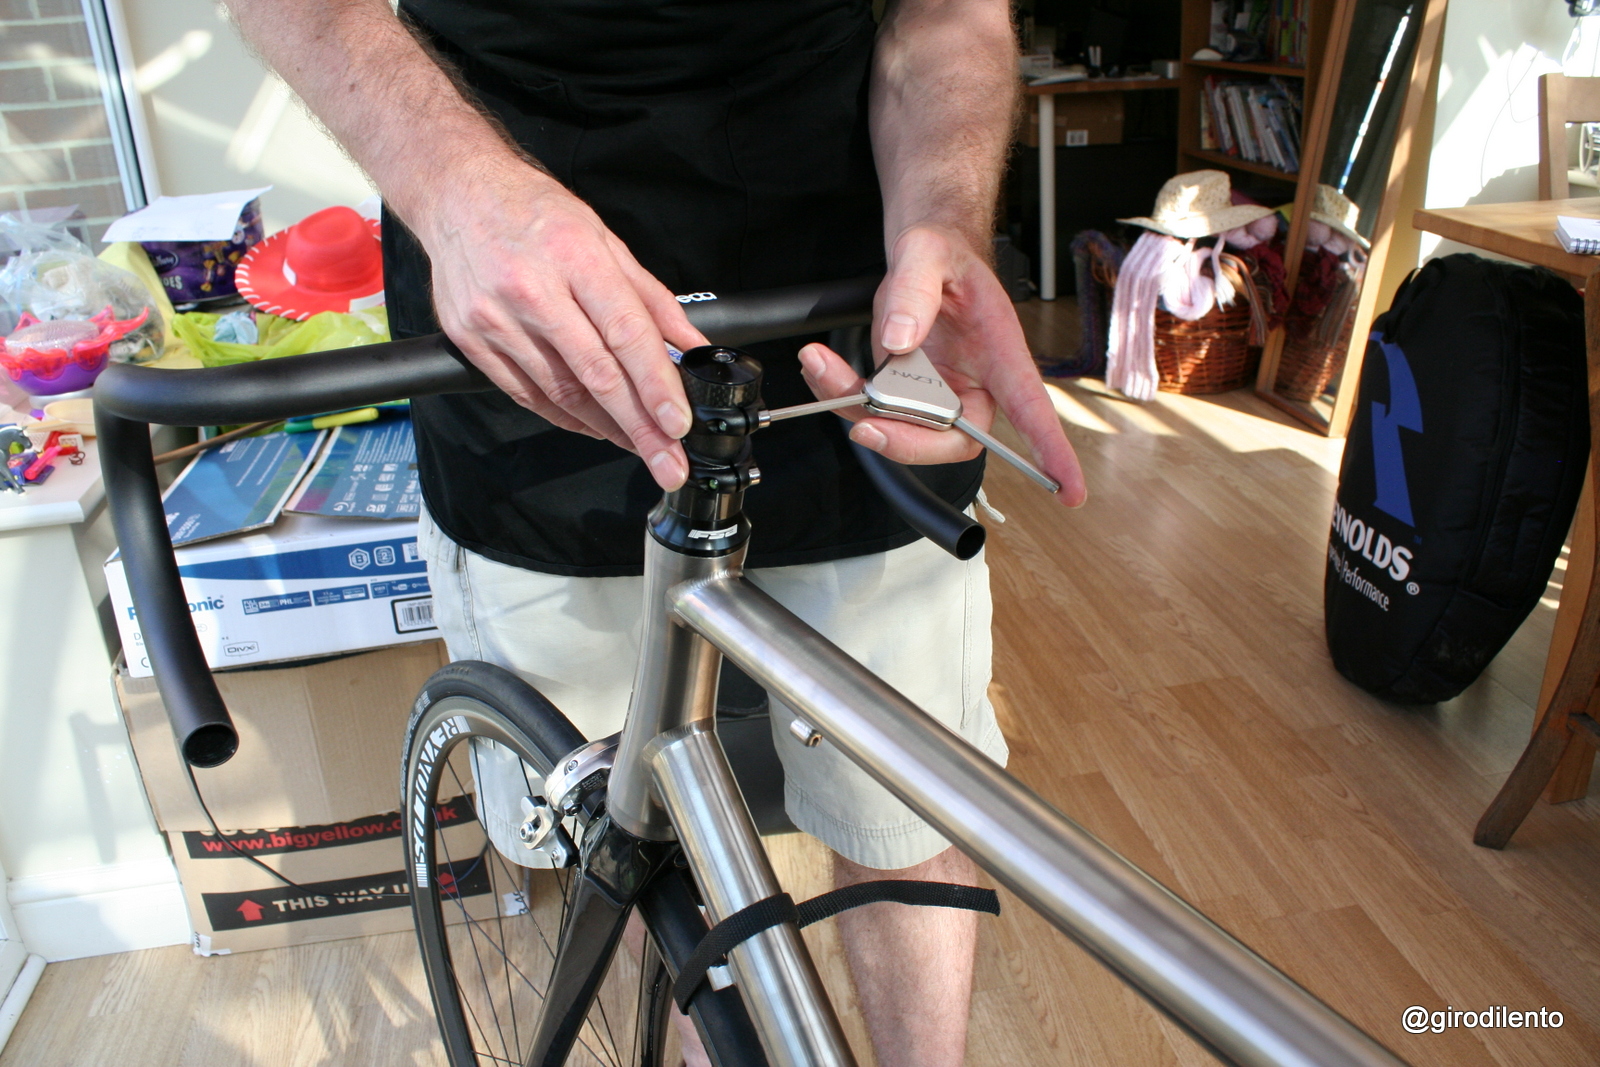
8) Fit the stem and the handlebars including fitting the fork bung and the top cap
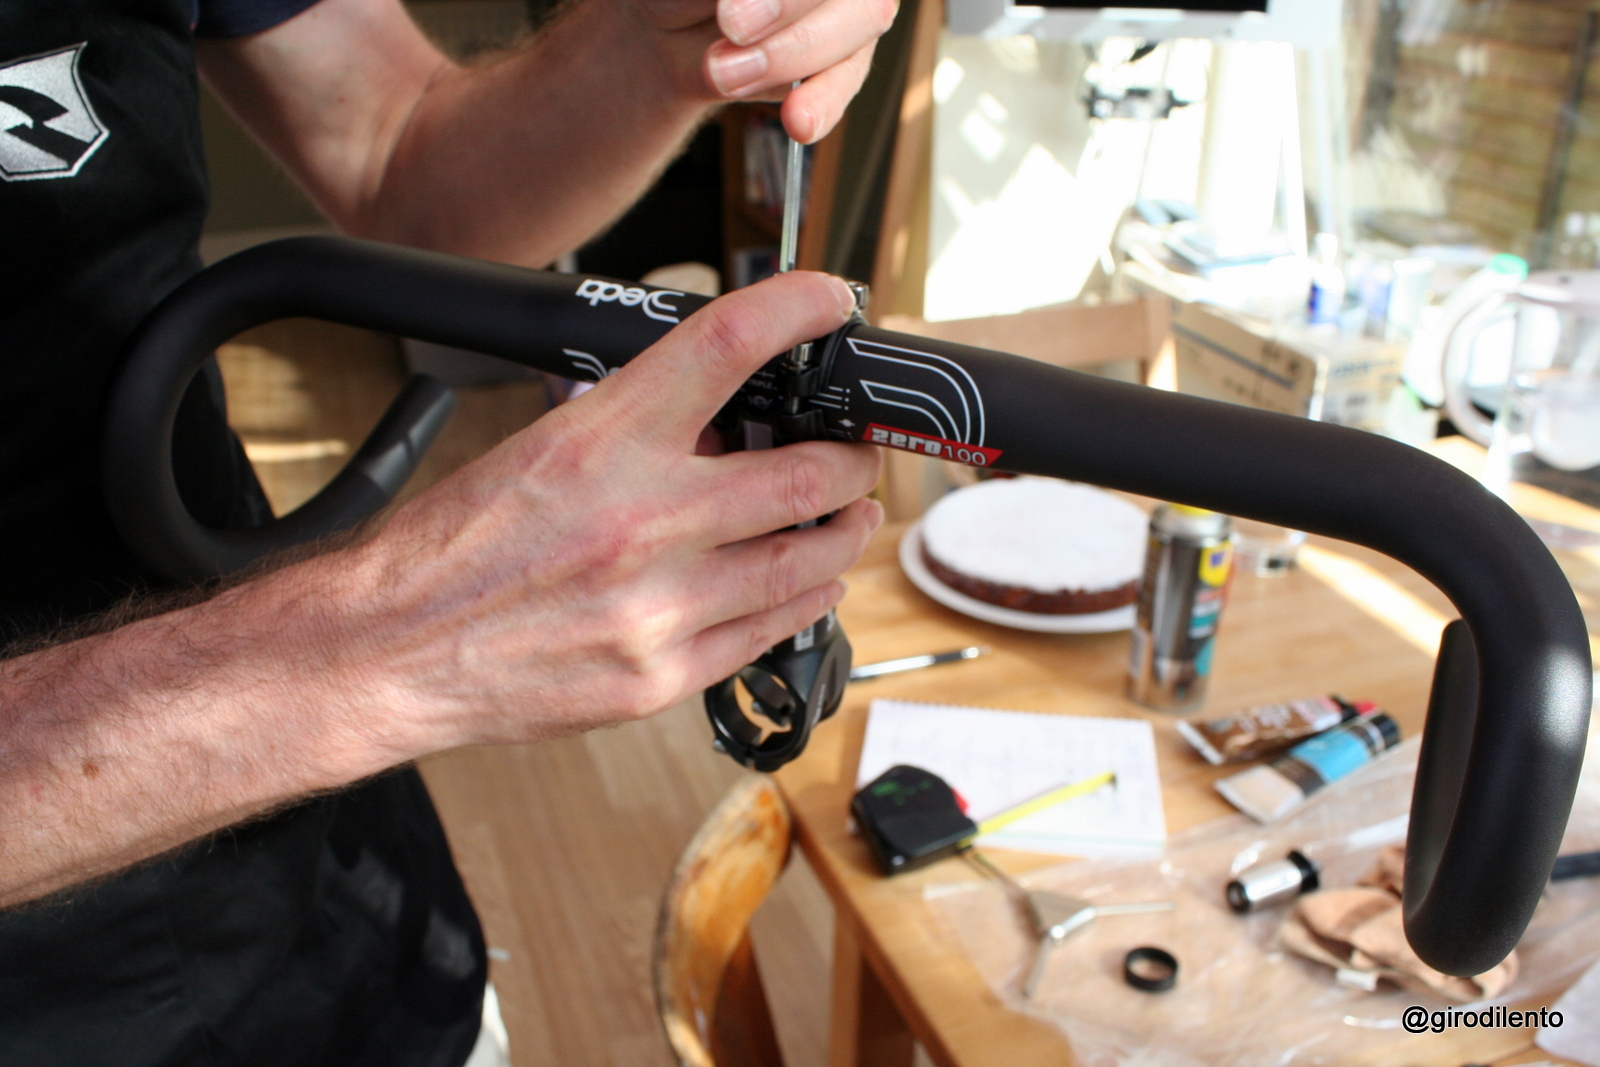
Getting the bars and stem fitted
9) Fit the levers to the bars and make sure they’re in bottom gear. Align the levers using something like a long ruler to make sure they’re even and attempt to get the position close to where you might want to ride the bike
Tweaking bar position
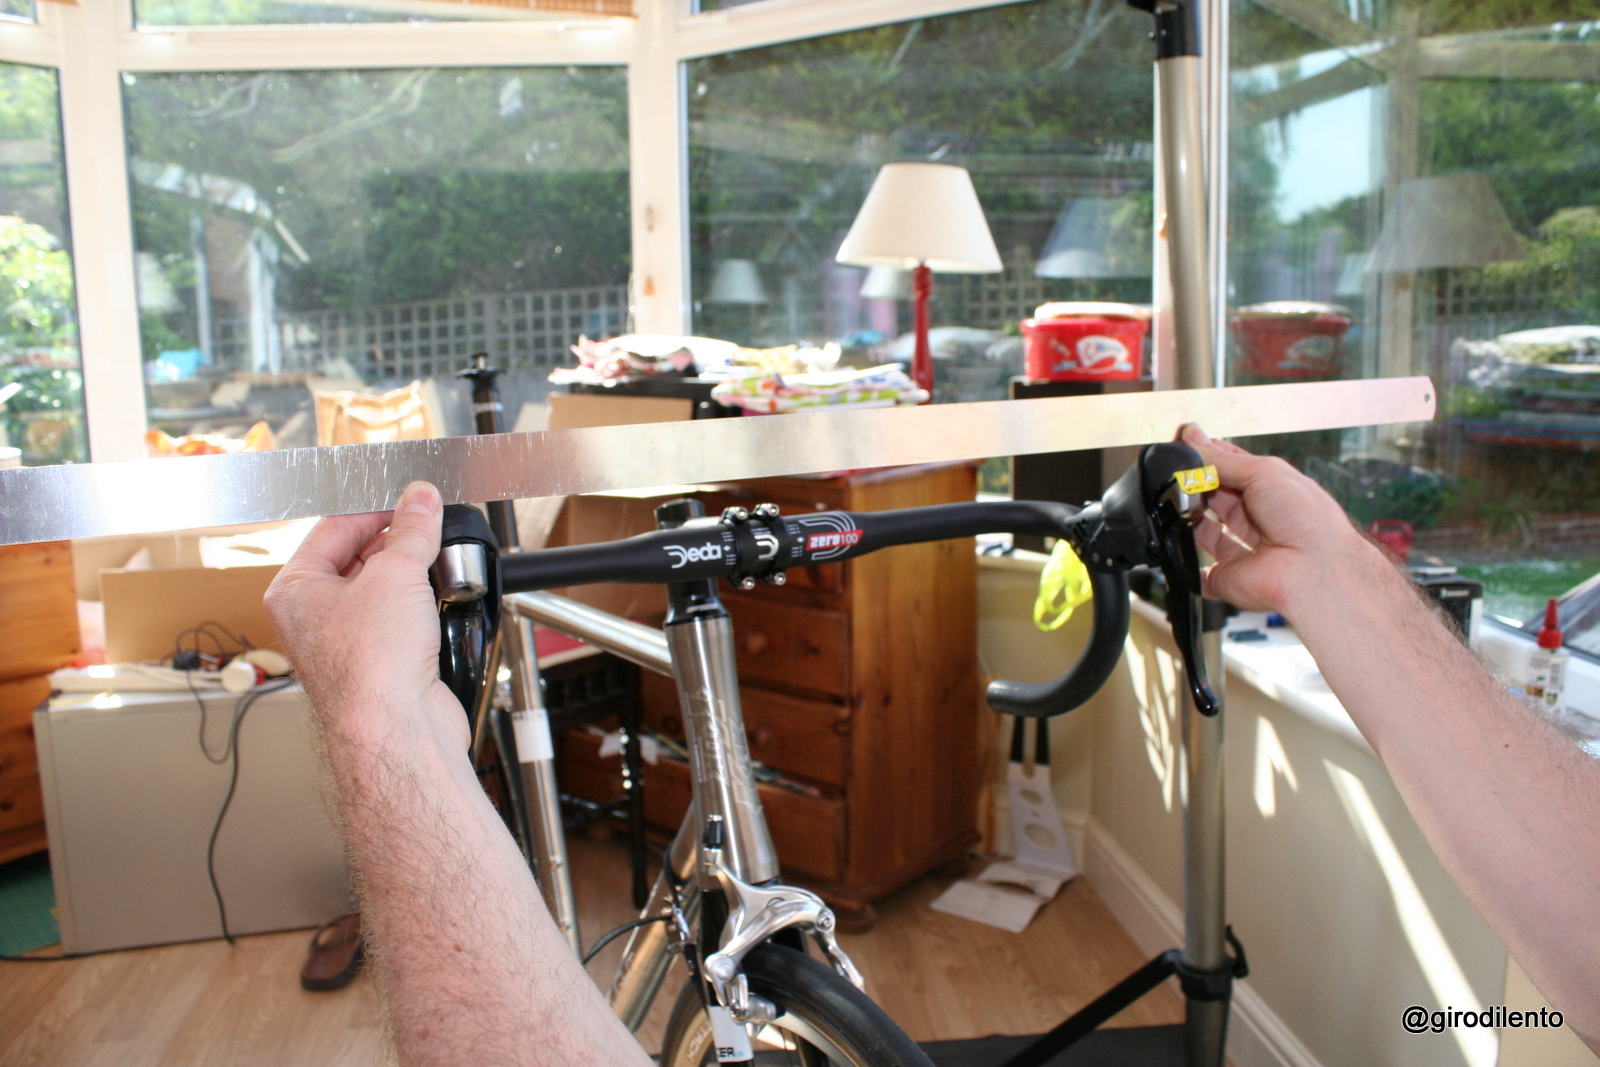
Getting the bars and levers level
10) Fit the cables – threading them through the shifters to begin with. Note: The brake outer is a spiral and the gear outer is longitudinal. Make sure you use the the right one for the correct cables. Check the shifting works the cables properly at the front of the bike before you thread to the rear – that is make sure the cables are fitted properly and working at the front of the bike before you move to do the derailleurs/calipers

Feeding the cables through the levers
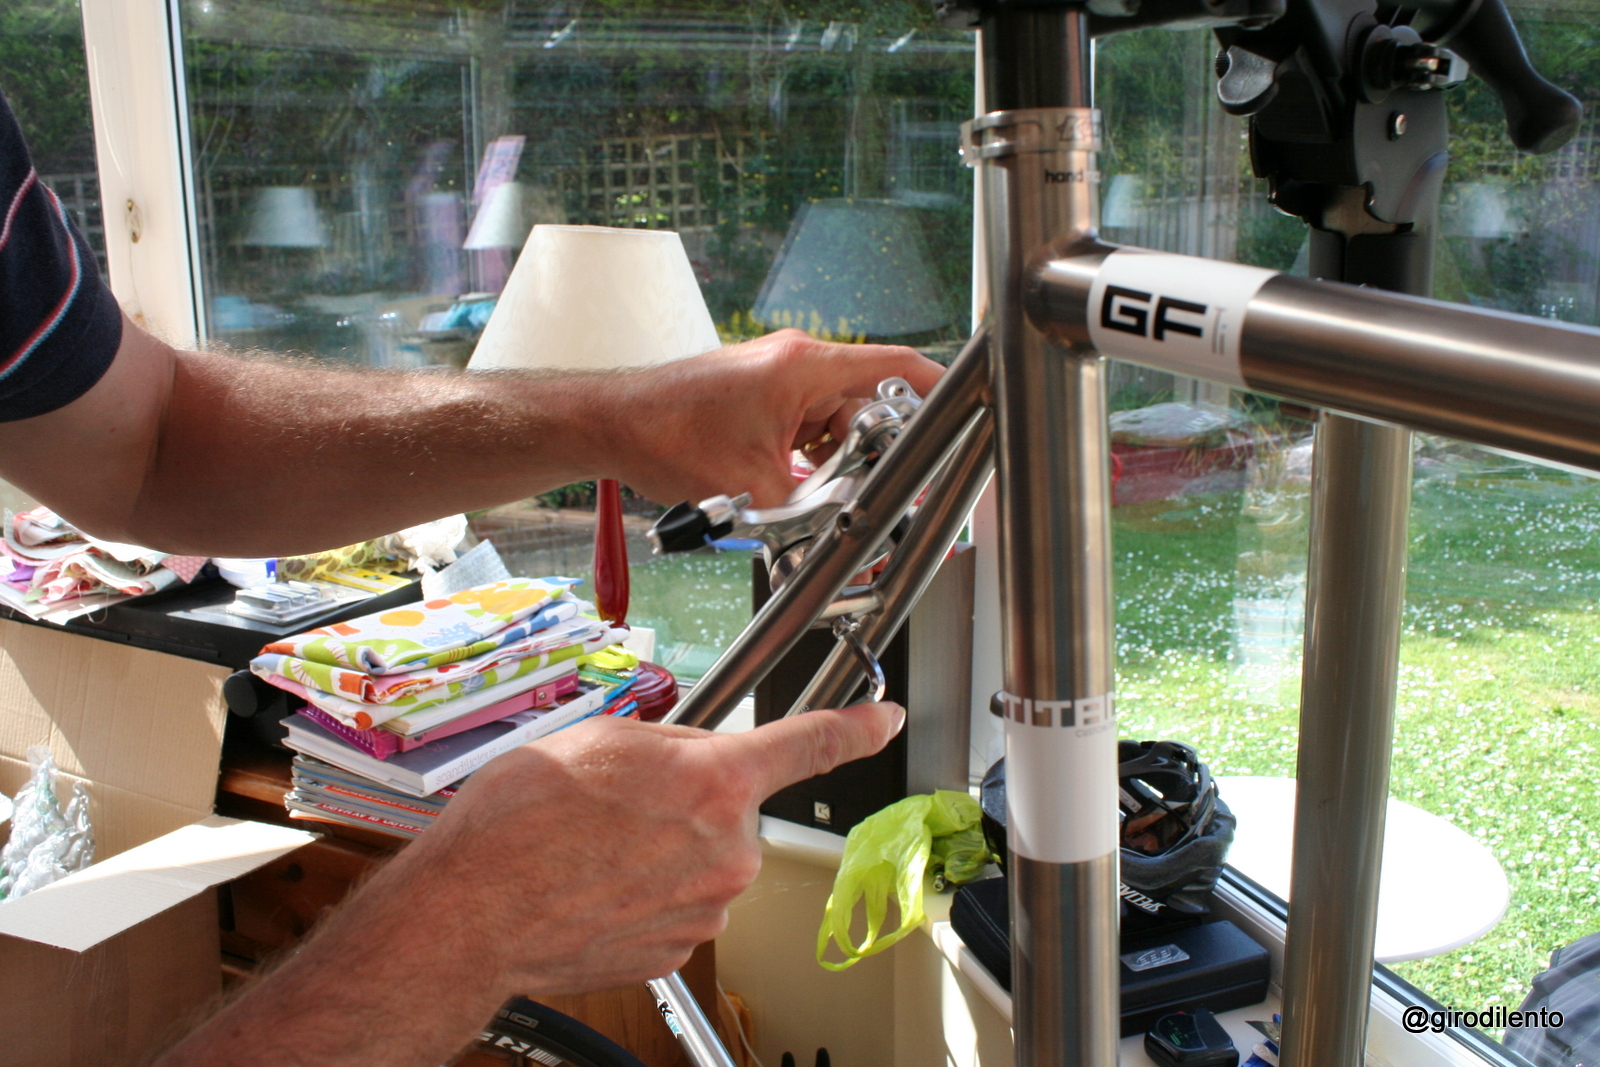
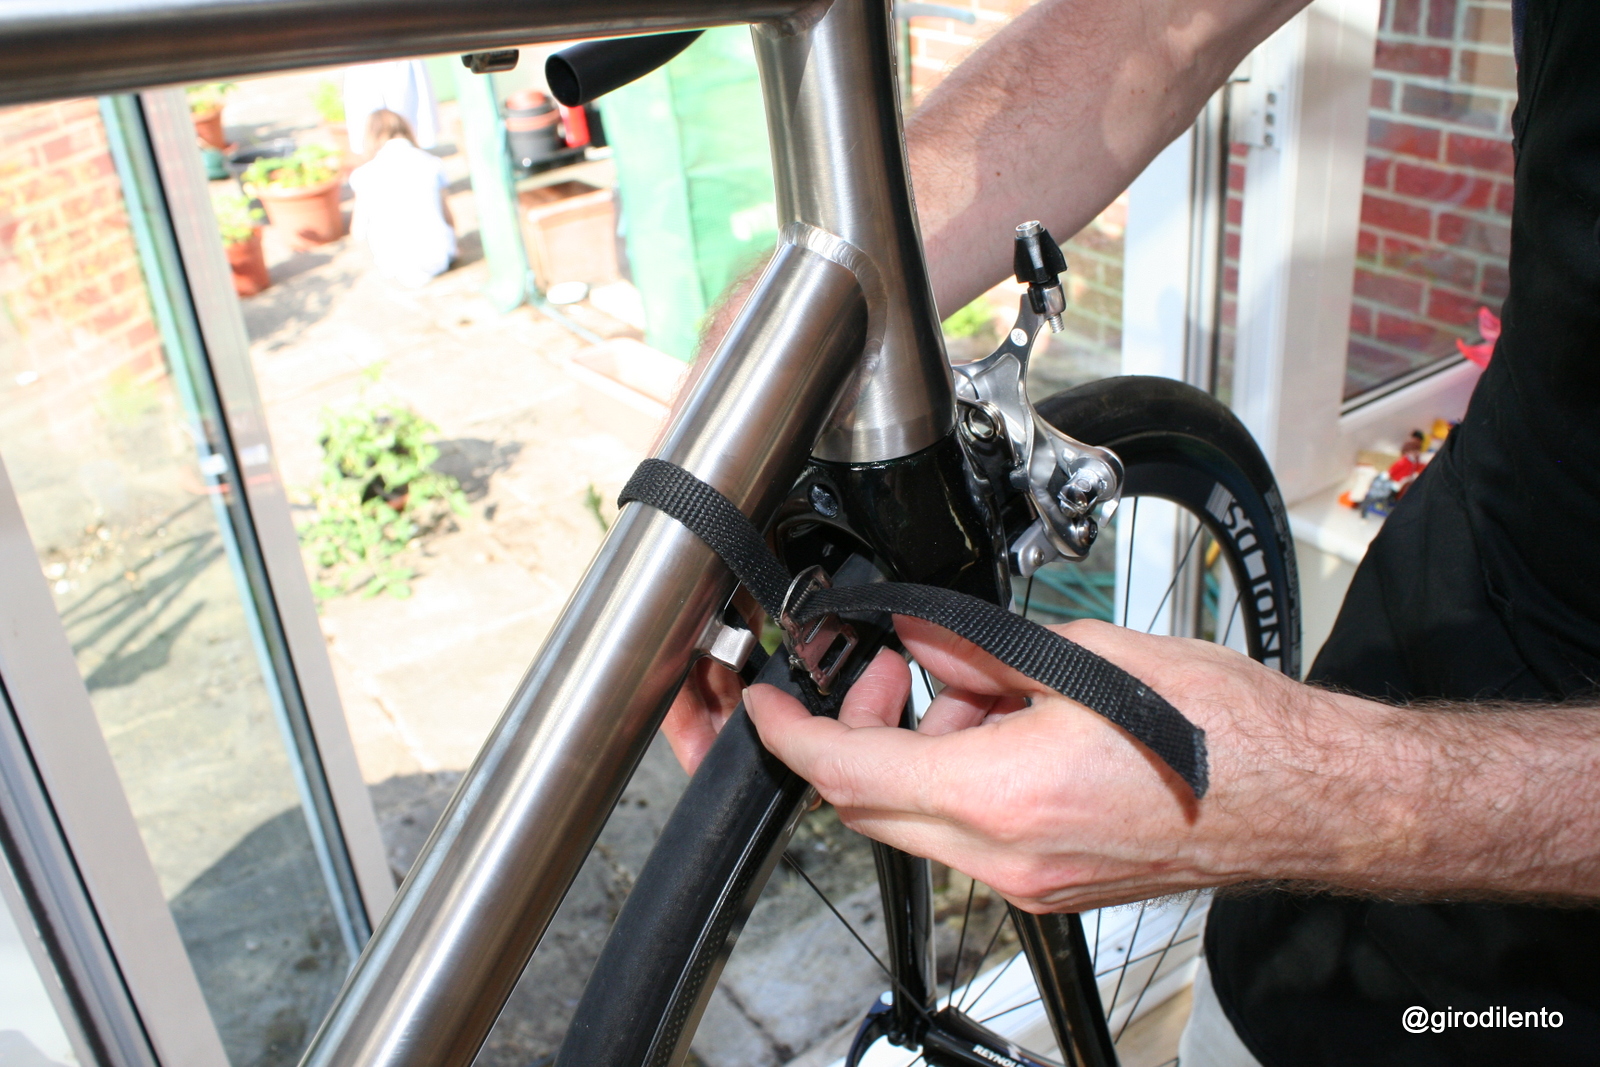
11) Fit the cables to the brake calipers including outers
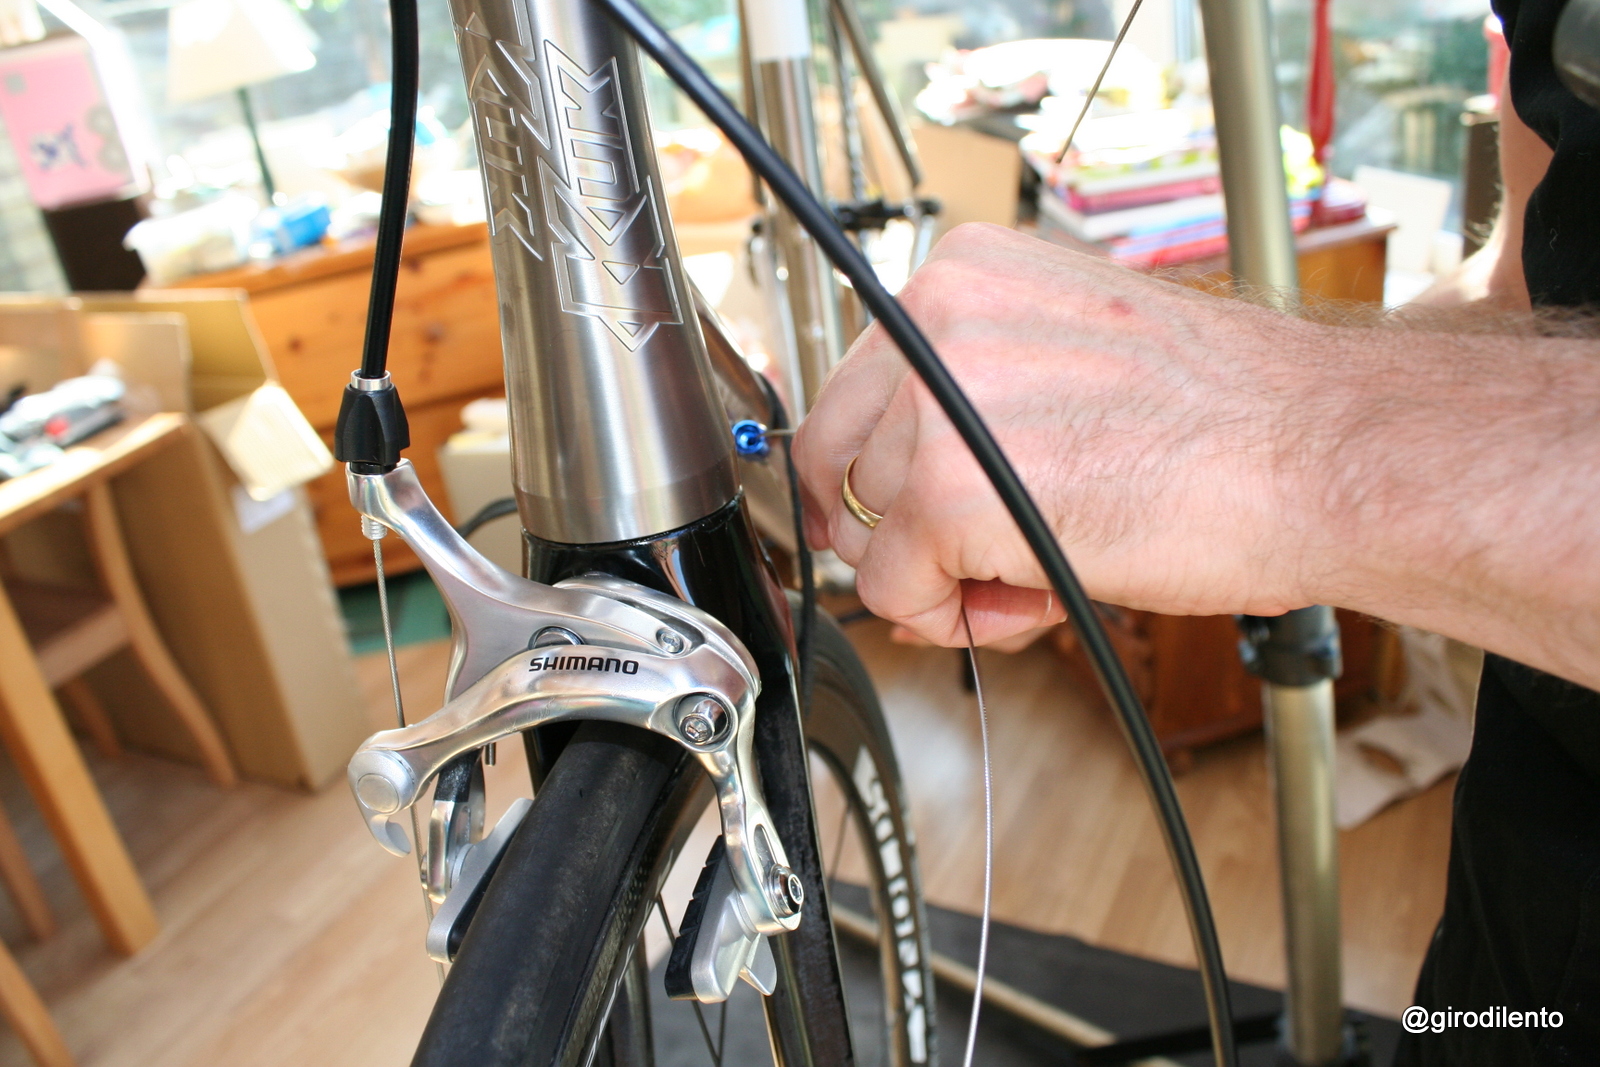
Front brake cable and outer first….
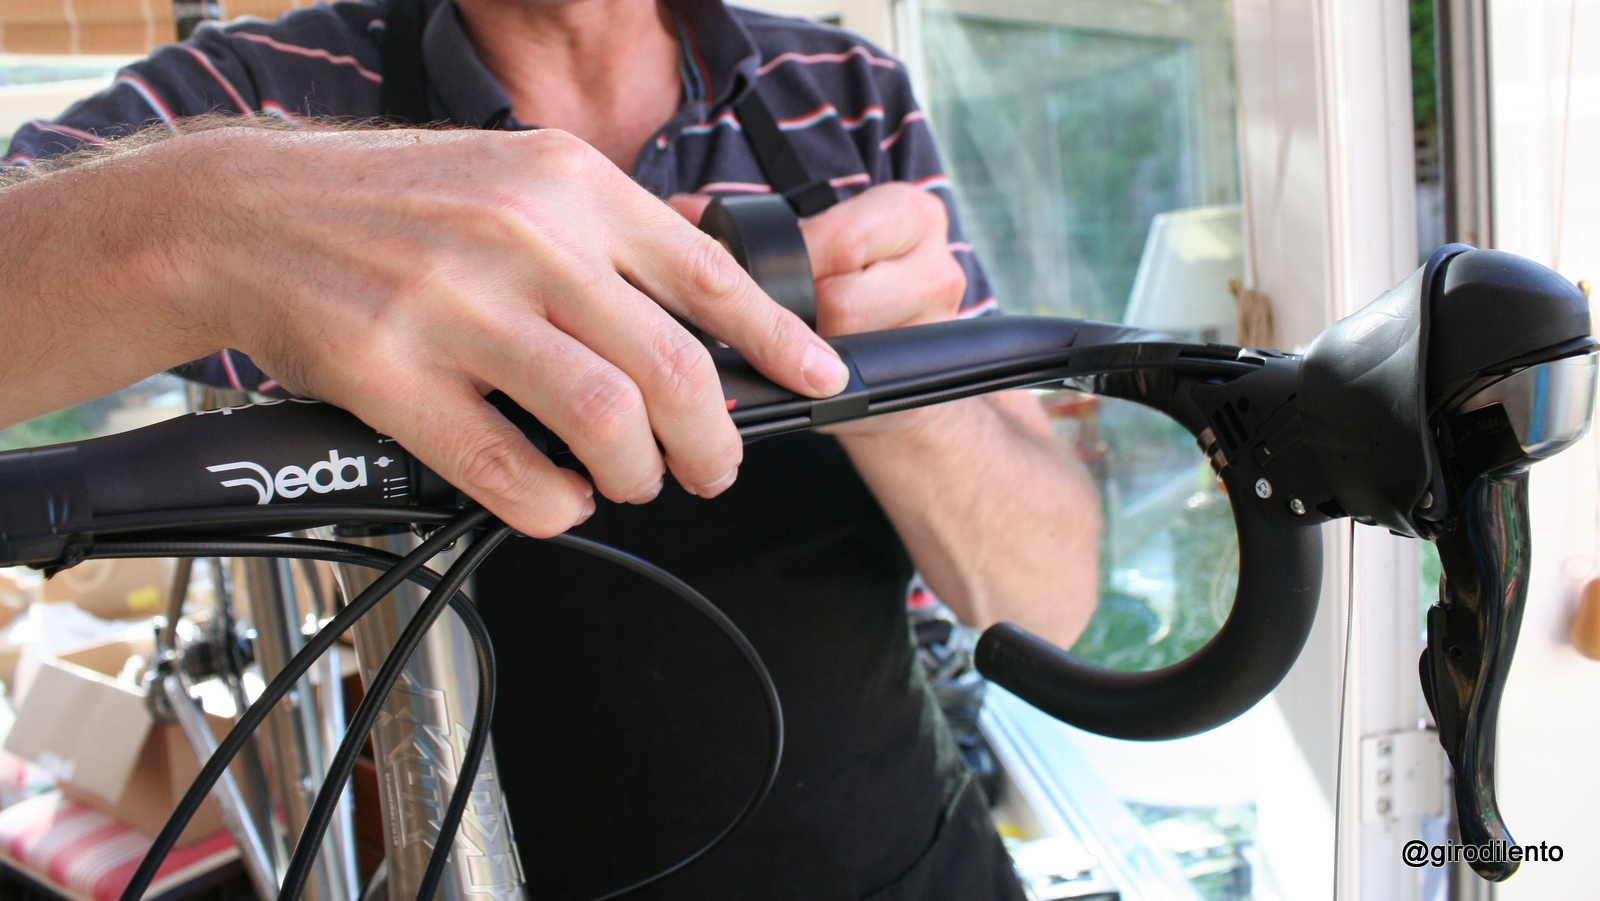
Taping cable outers into position on the bars
Rear brake cabling completed
12) Get a good curve on the outer for the rear derailleur – it’s crucial to good shifting
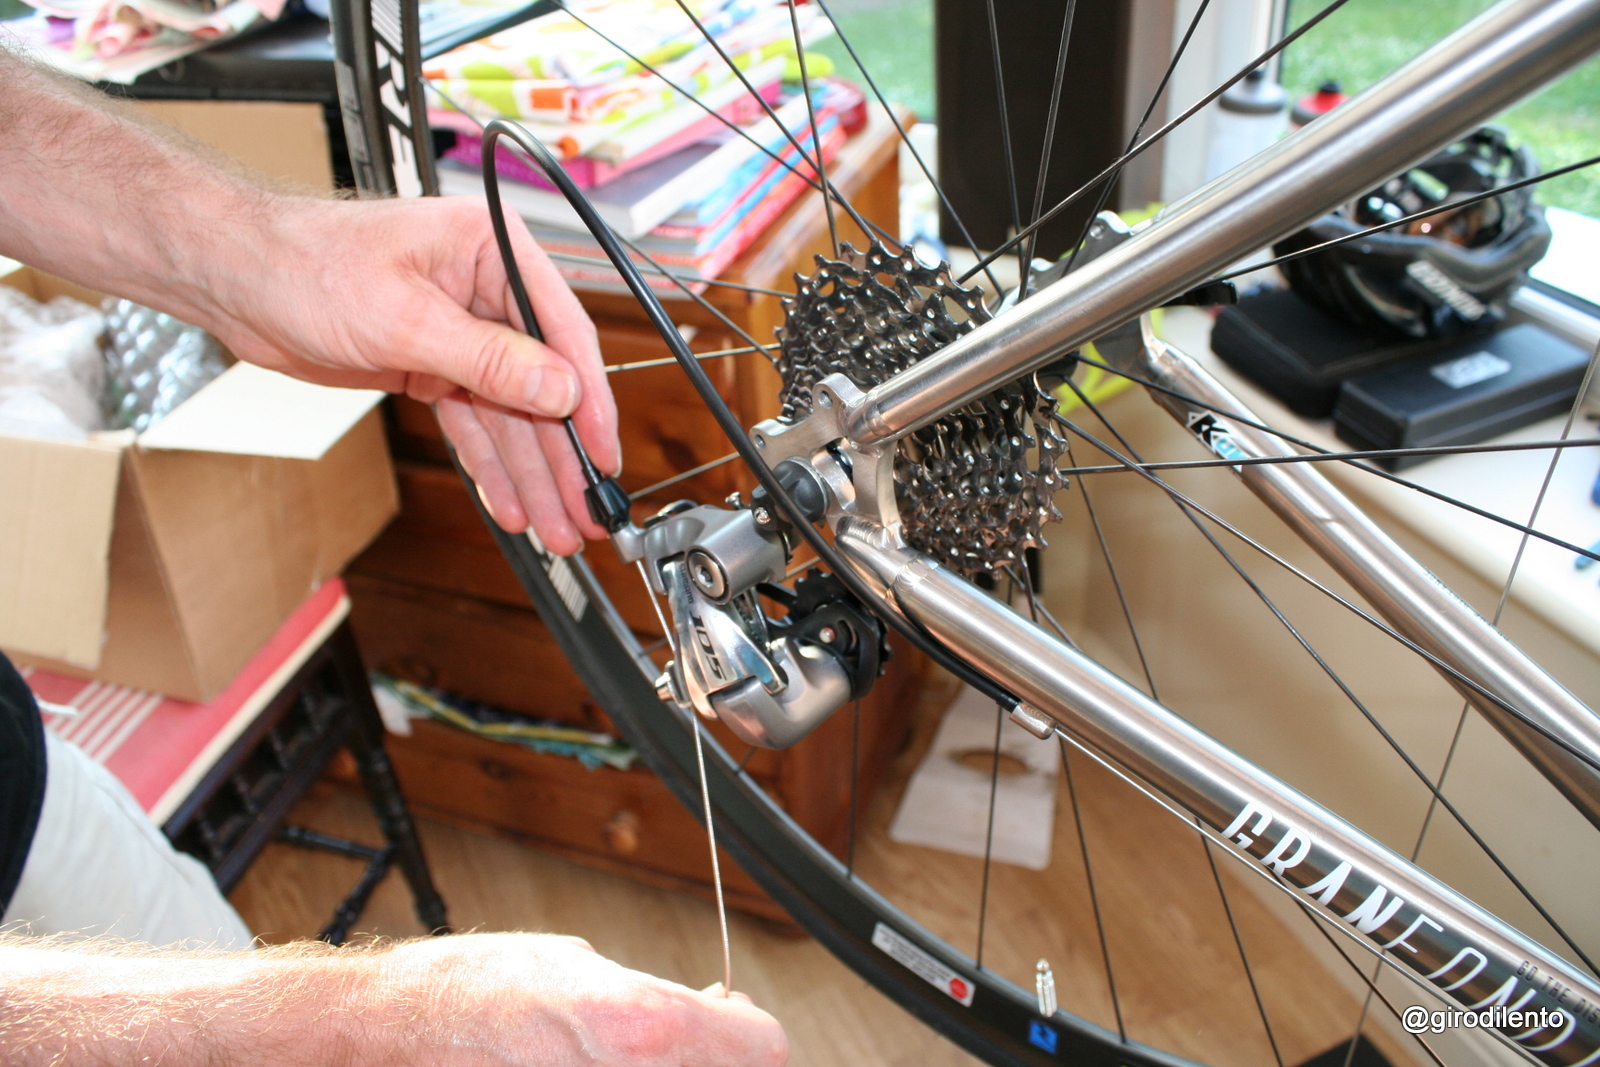
Rear mech cable in…
13) Make sure the outers balance on the front of the bike where they go from the handlebars to the frame – try to get a nice balance from left to right sides.
14) Fit the bottom bracket – grease on the threads inside the frame (if you have a threaded frame) first – then hand tighten the cups first before tightening up.
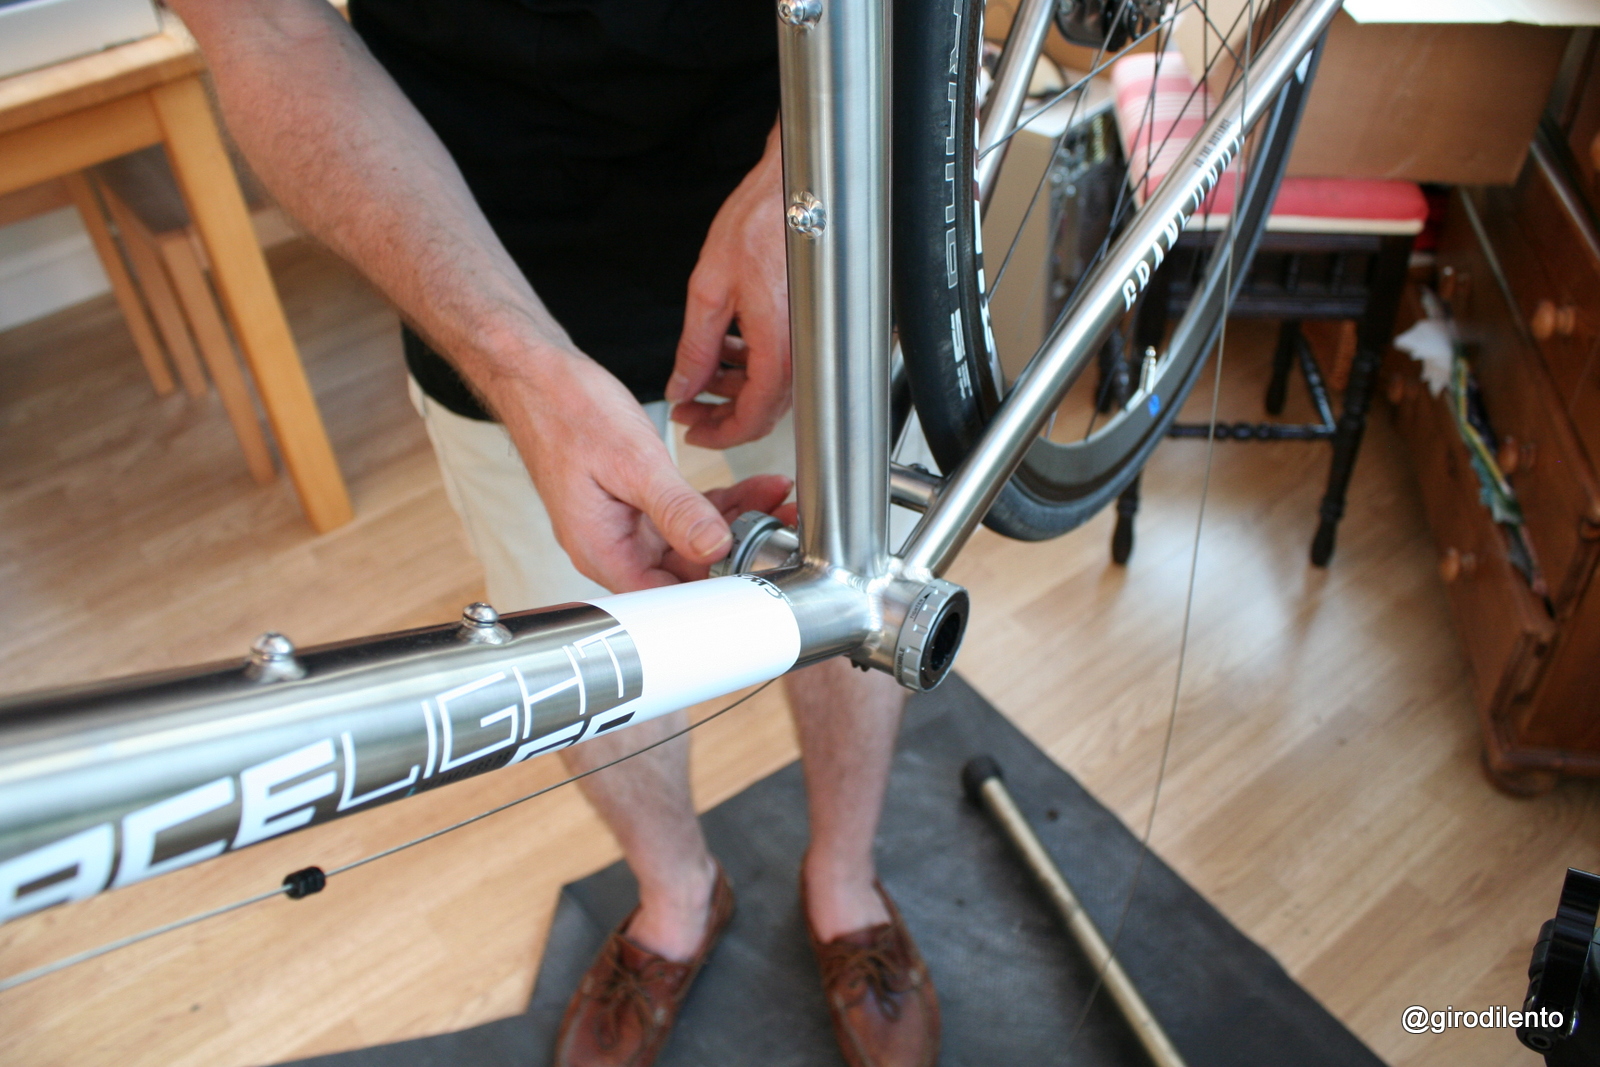
Bottom bracket being fitted
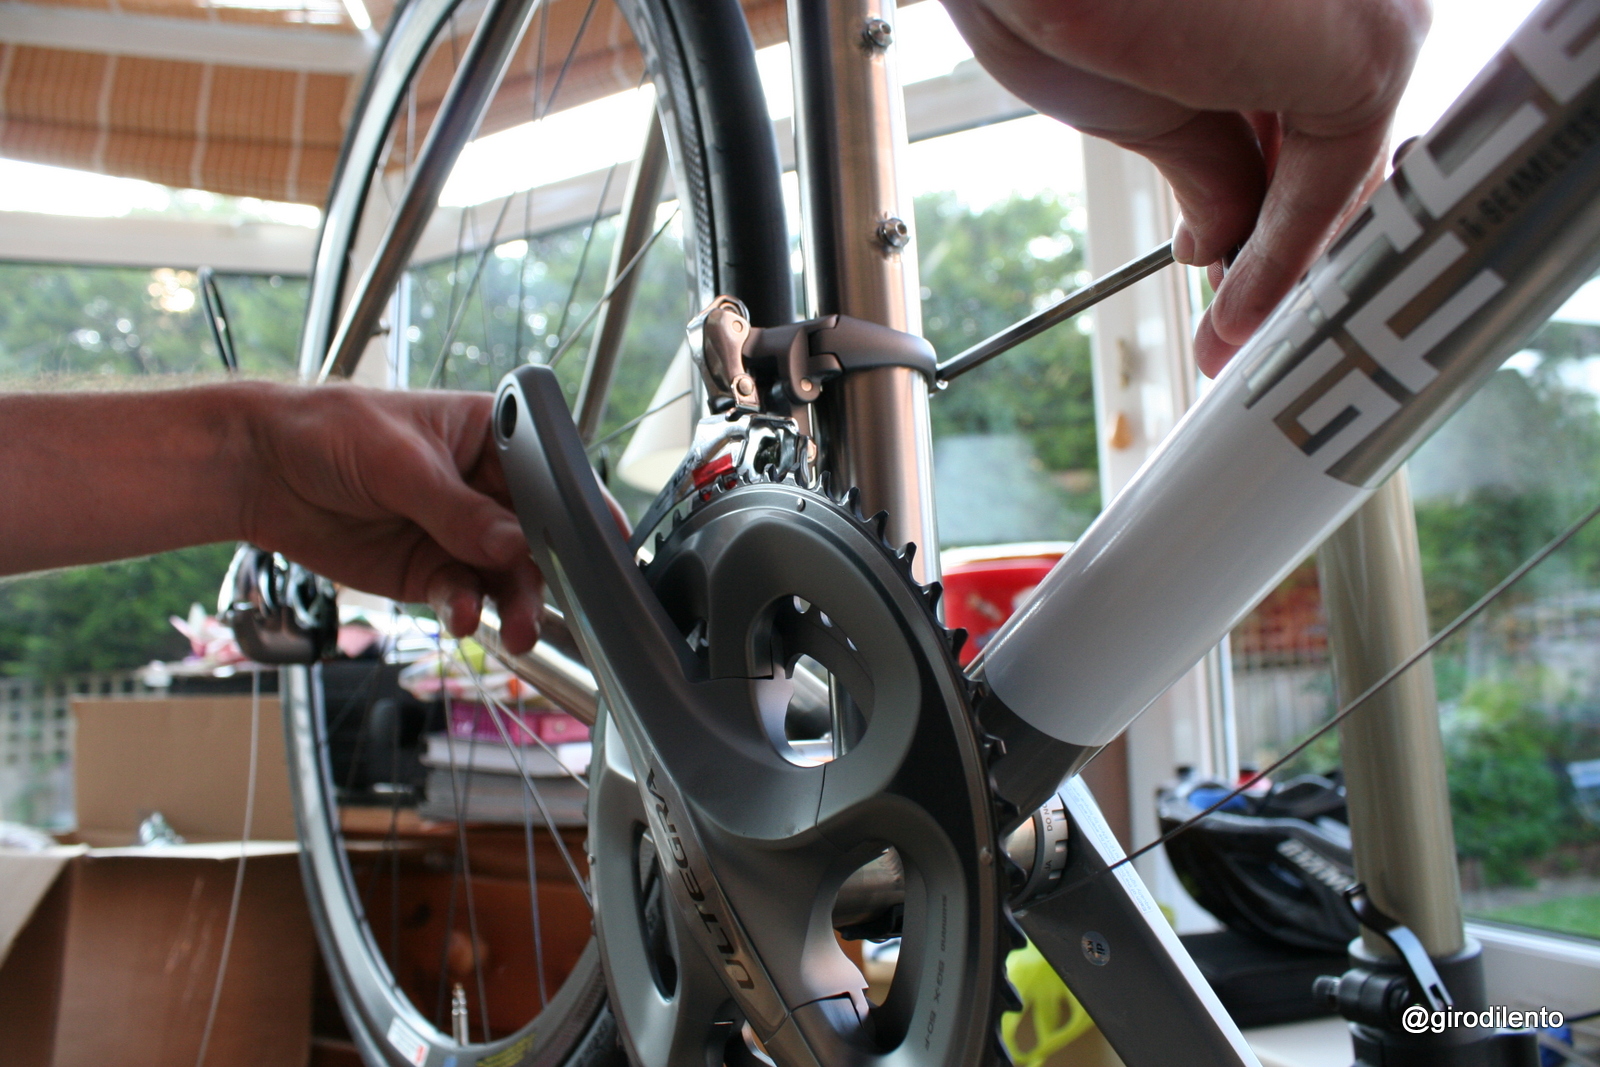
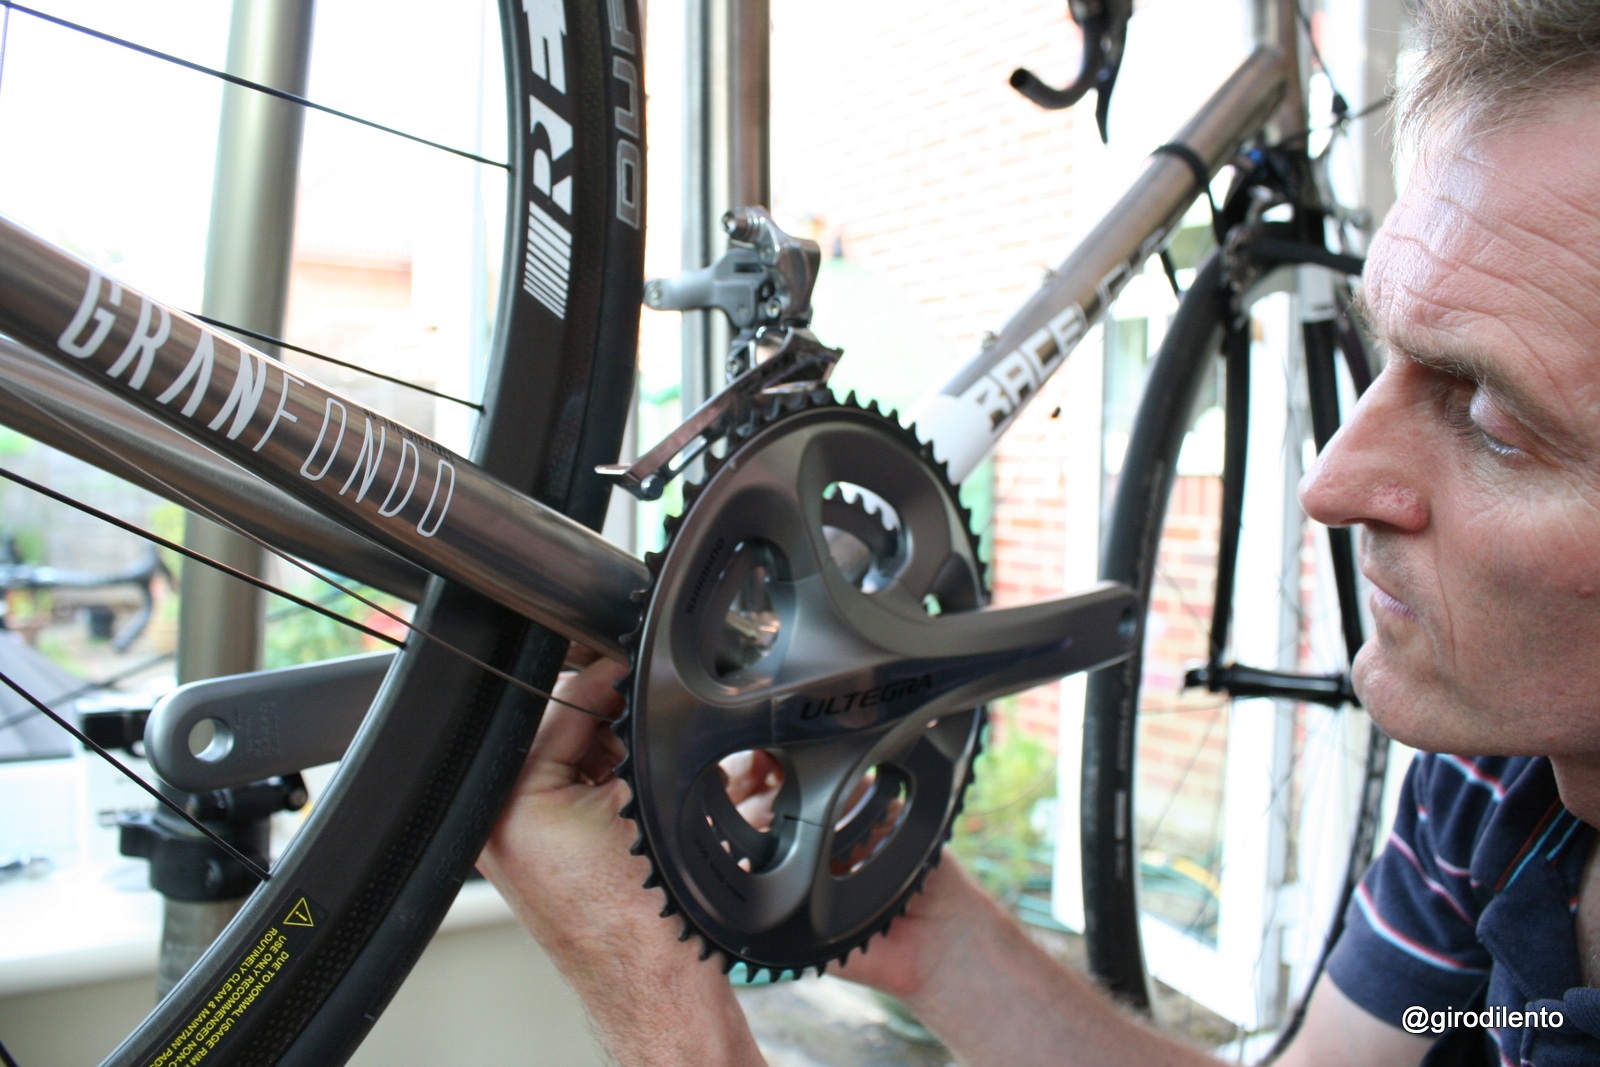
15) Fit the cranks
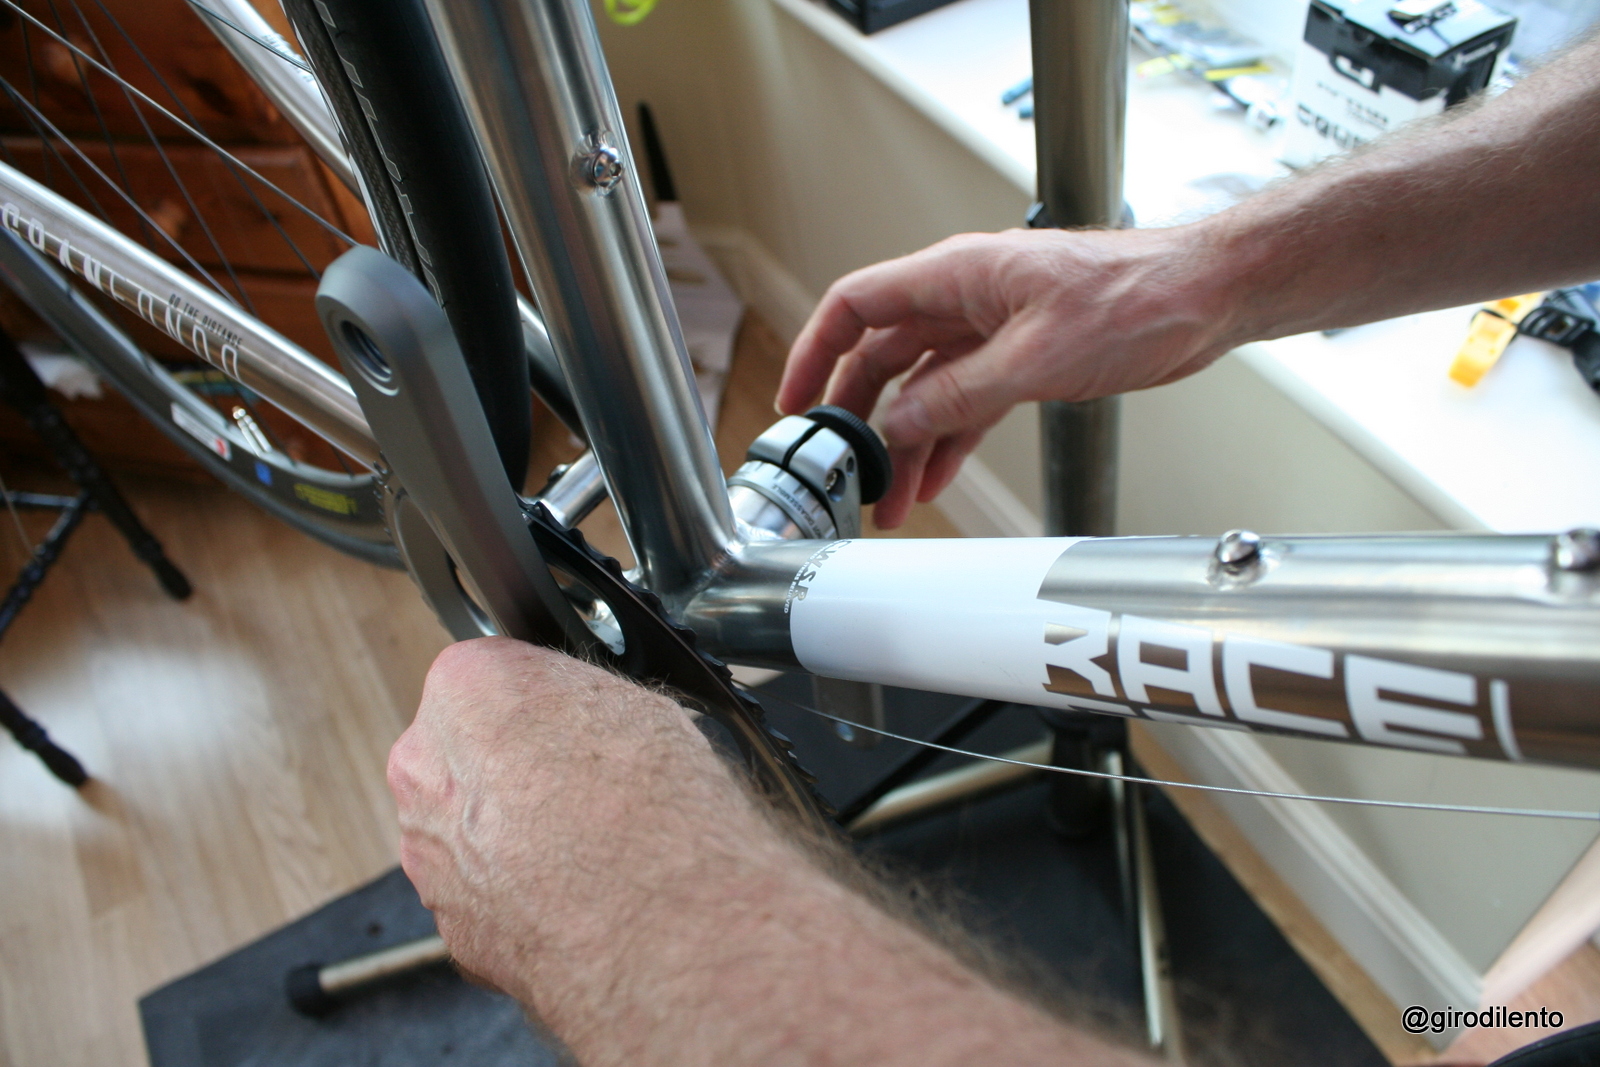
Cranks going in
16) Fit the front mech and the shift cable
Front mech attached and height set
Feeding the front mech cable through
17) Fit the chain with the bike in the little ring at the front.
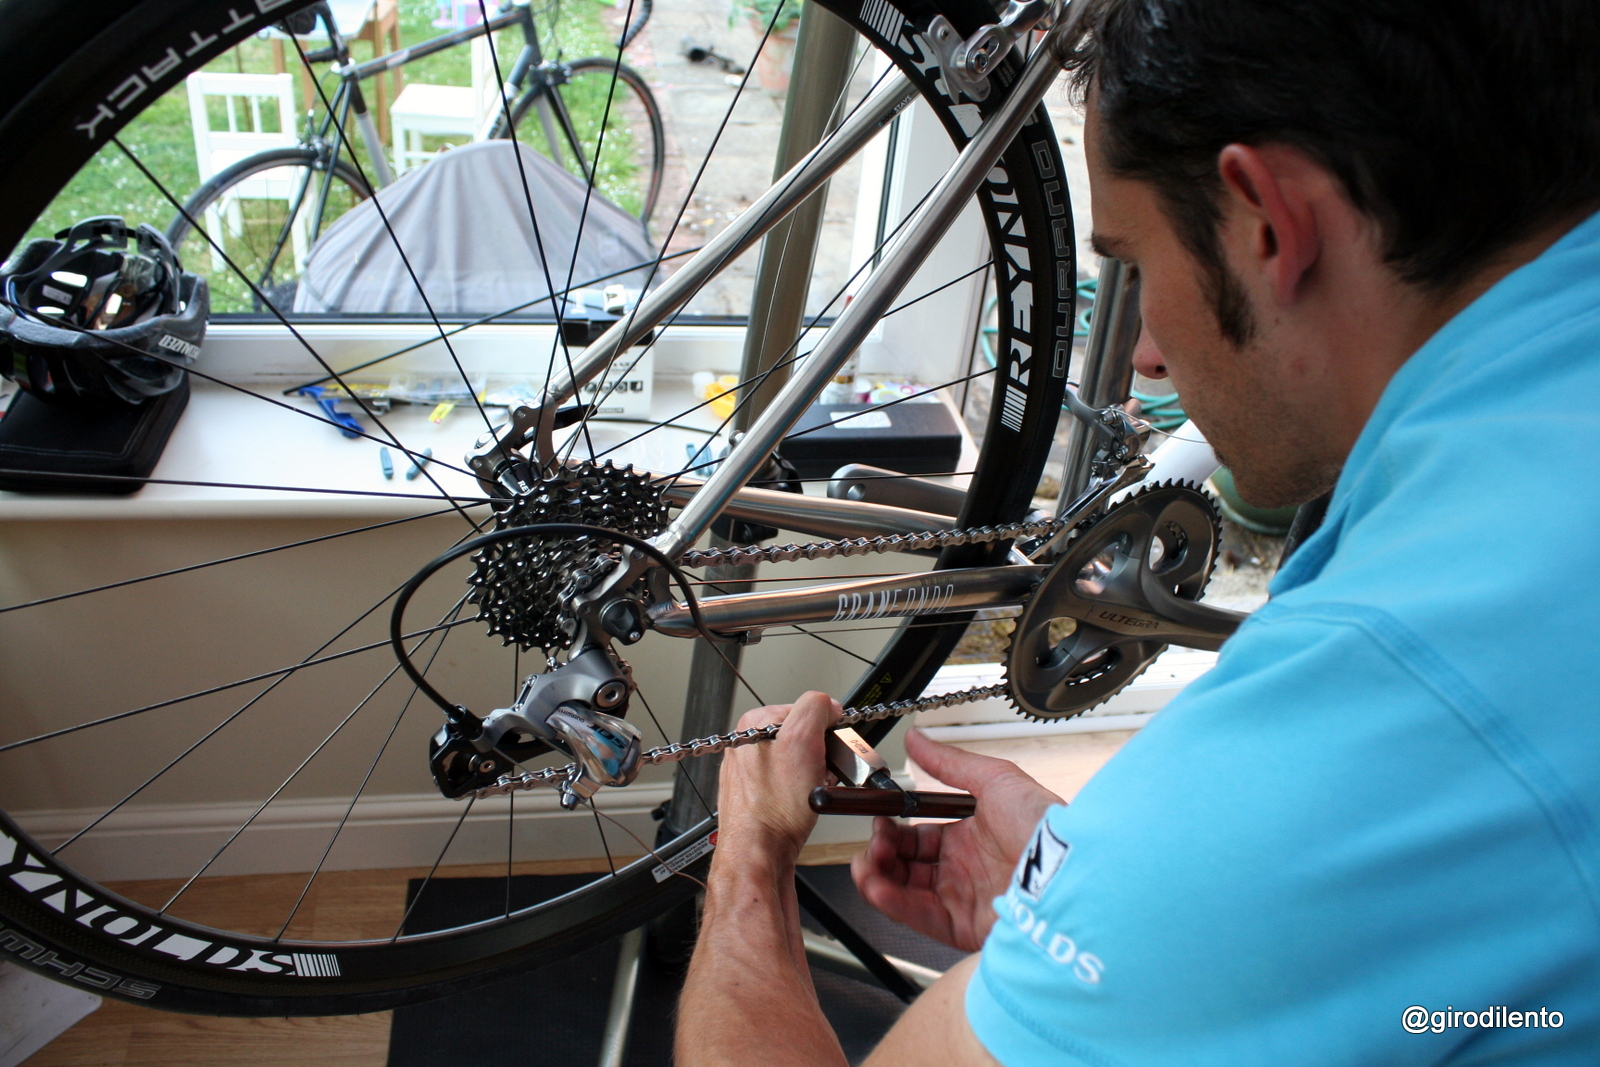
James gets the chain fitted
18) Tweak and setup the shifting on the rear then front mech
Pedals on and gears being indexed
19) Do a bolt check on the bike for all of the parts you’ve fitted.
20) Set the brakes including squeezing out the cable slack
Brakes being tweaked
If you’re not sure about any step along the way – you can refer to the tech docs which if not in the boxes with your components can be downloaded on line.
Don’t be too frightened about having a go – it wasn’t as bad or as difficult as I thought and practicing is important. As I said earlier, if you try and get it wrong, your local bike shop with be able to fix it for you.
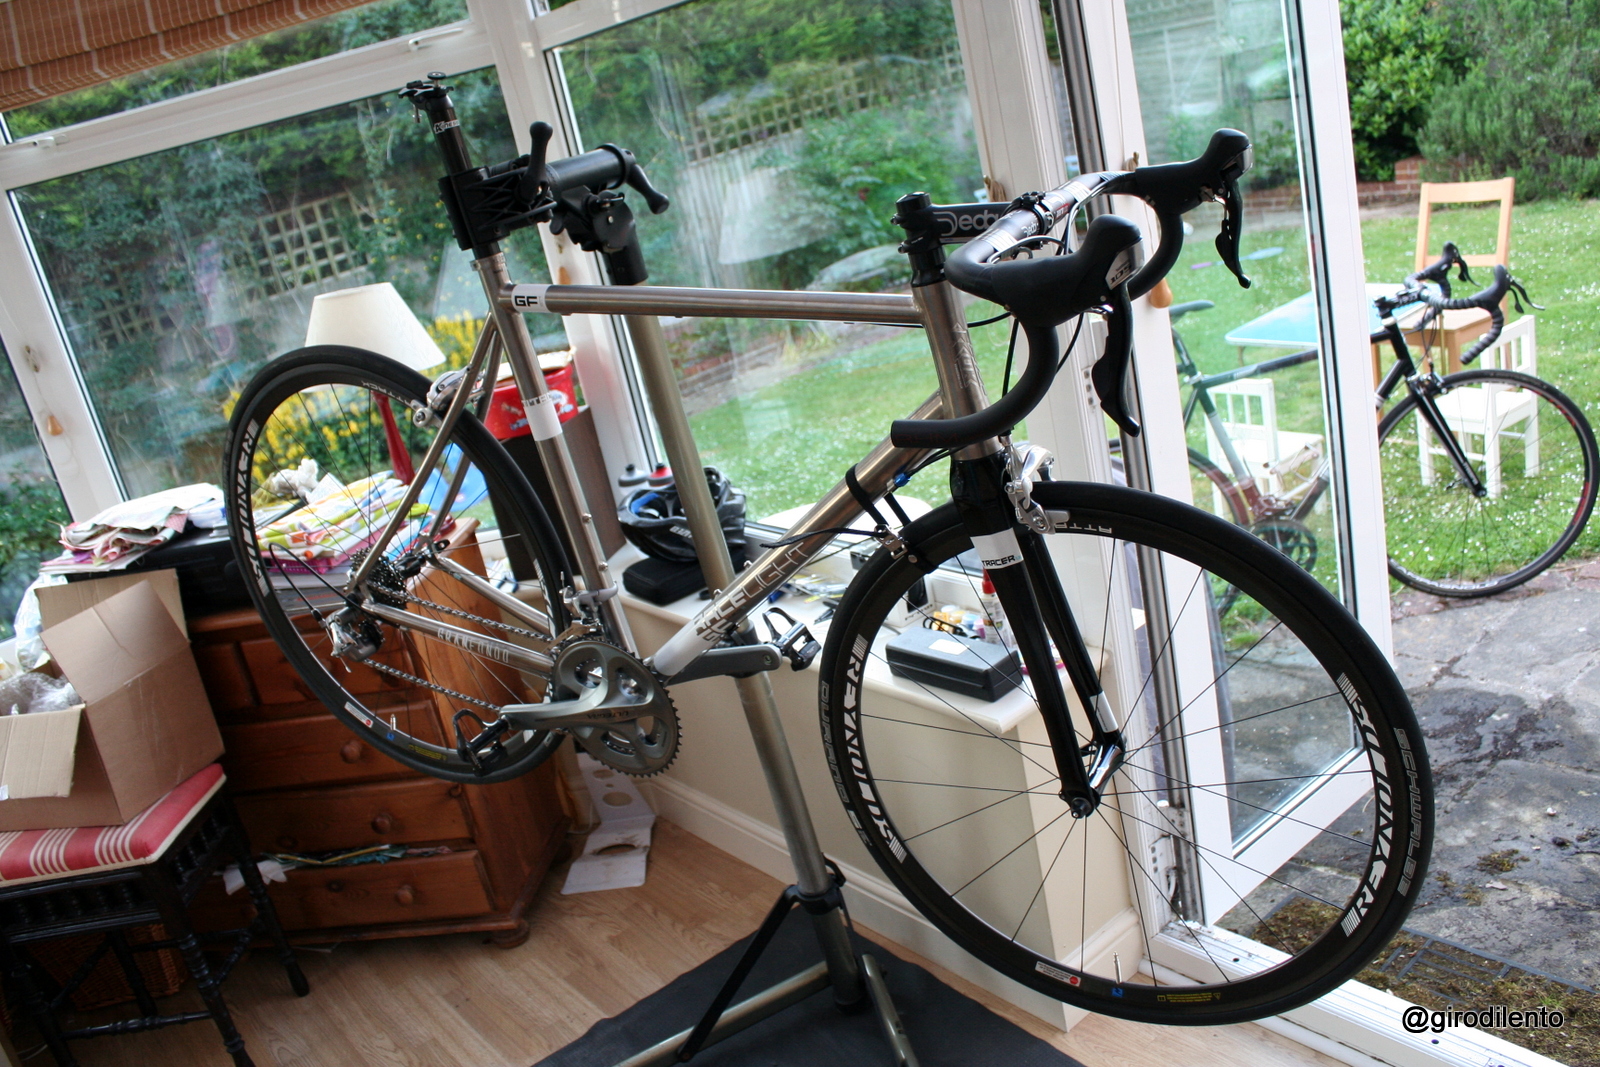
Ready for a saddle and bar tape
Aside from the idea of trimming the fork steerer and fitting the fork bung, which I found intimidating (and let James do), the rest of the bike wasn’t too bad. I found it hard to get the front mech shifting well and have continued to struggle with that on the groupset fitting and the bike build I’ve tried since. It’s needed tweaking at my local shop and I did wreck one front shifting cable – accidentally.
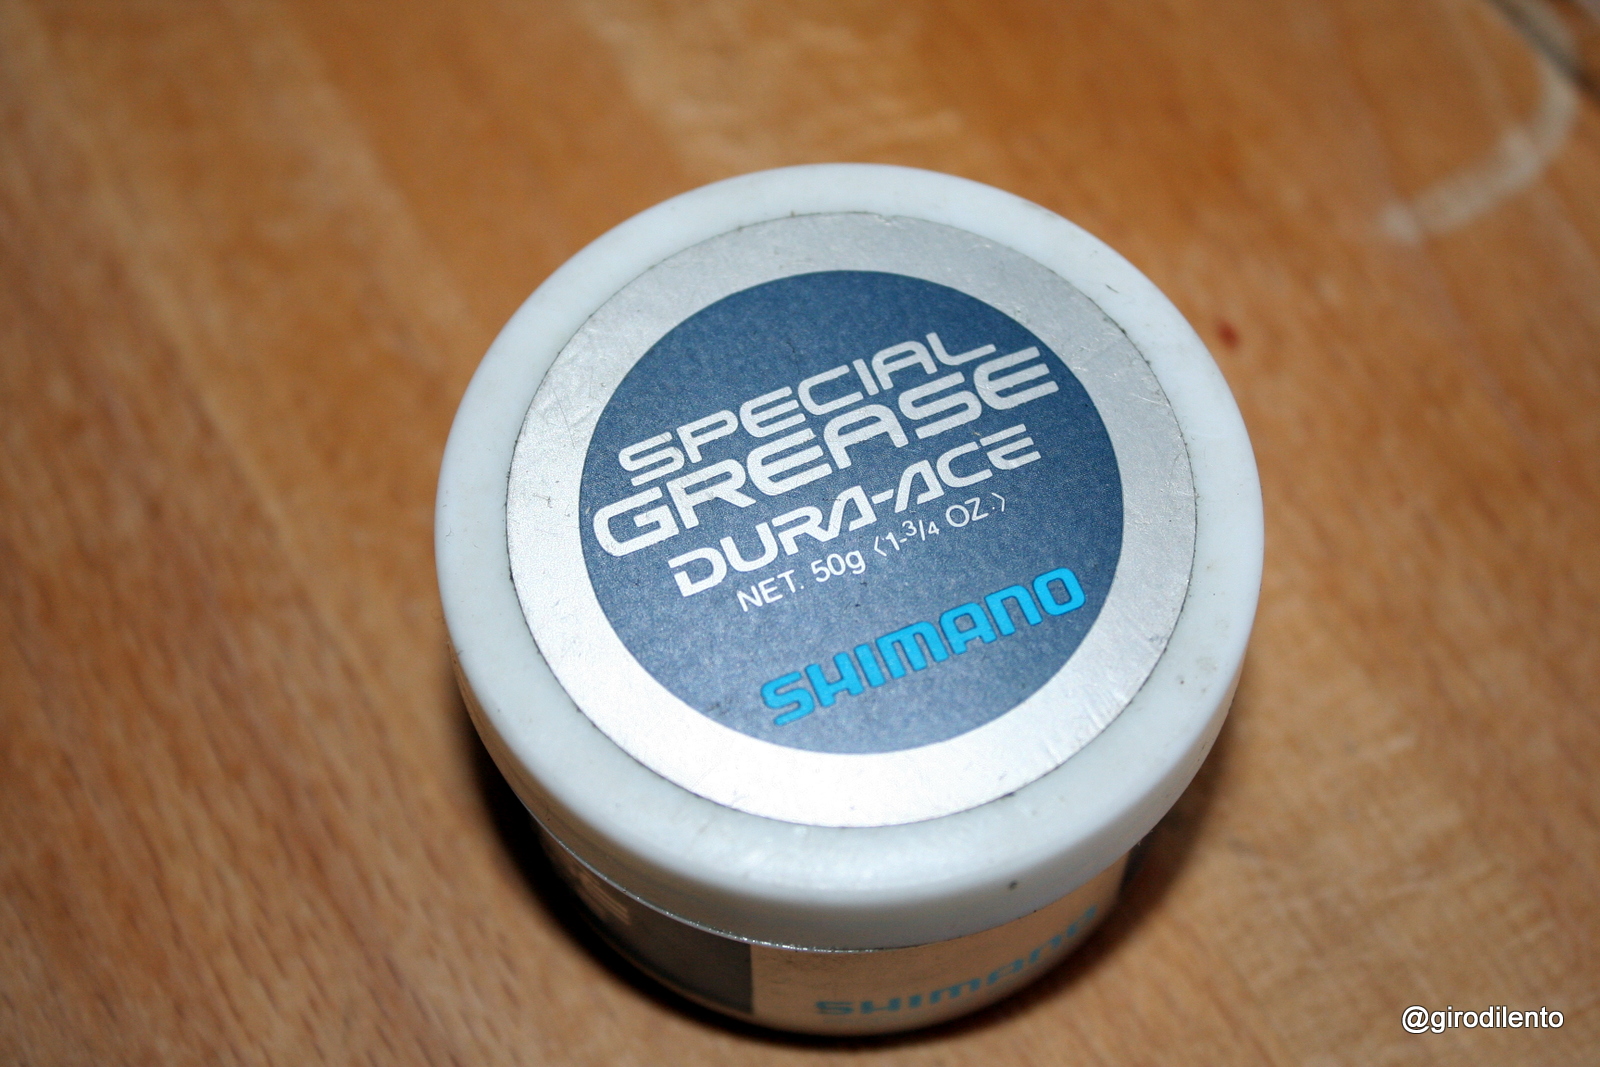
A secret ingredient of a bike build
I’m very grateful to James from RPM 90 (http://www.rpm90.com/) for his help and guidance on this build. If you’re considering a cycling trip to Europe – make sure you check out RPM 90’s site. James and Nick are great guys and I couldn’t think of better hosts on a cycling adventure. RPM 90 have published their 2014 calendar, which has some fantastic trips and can be found here: http://www.rpm90.com/packages/
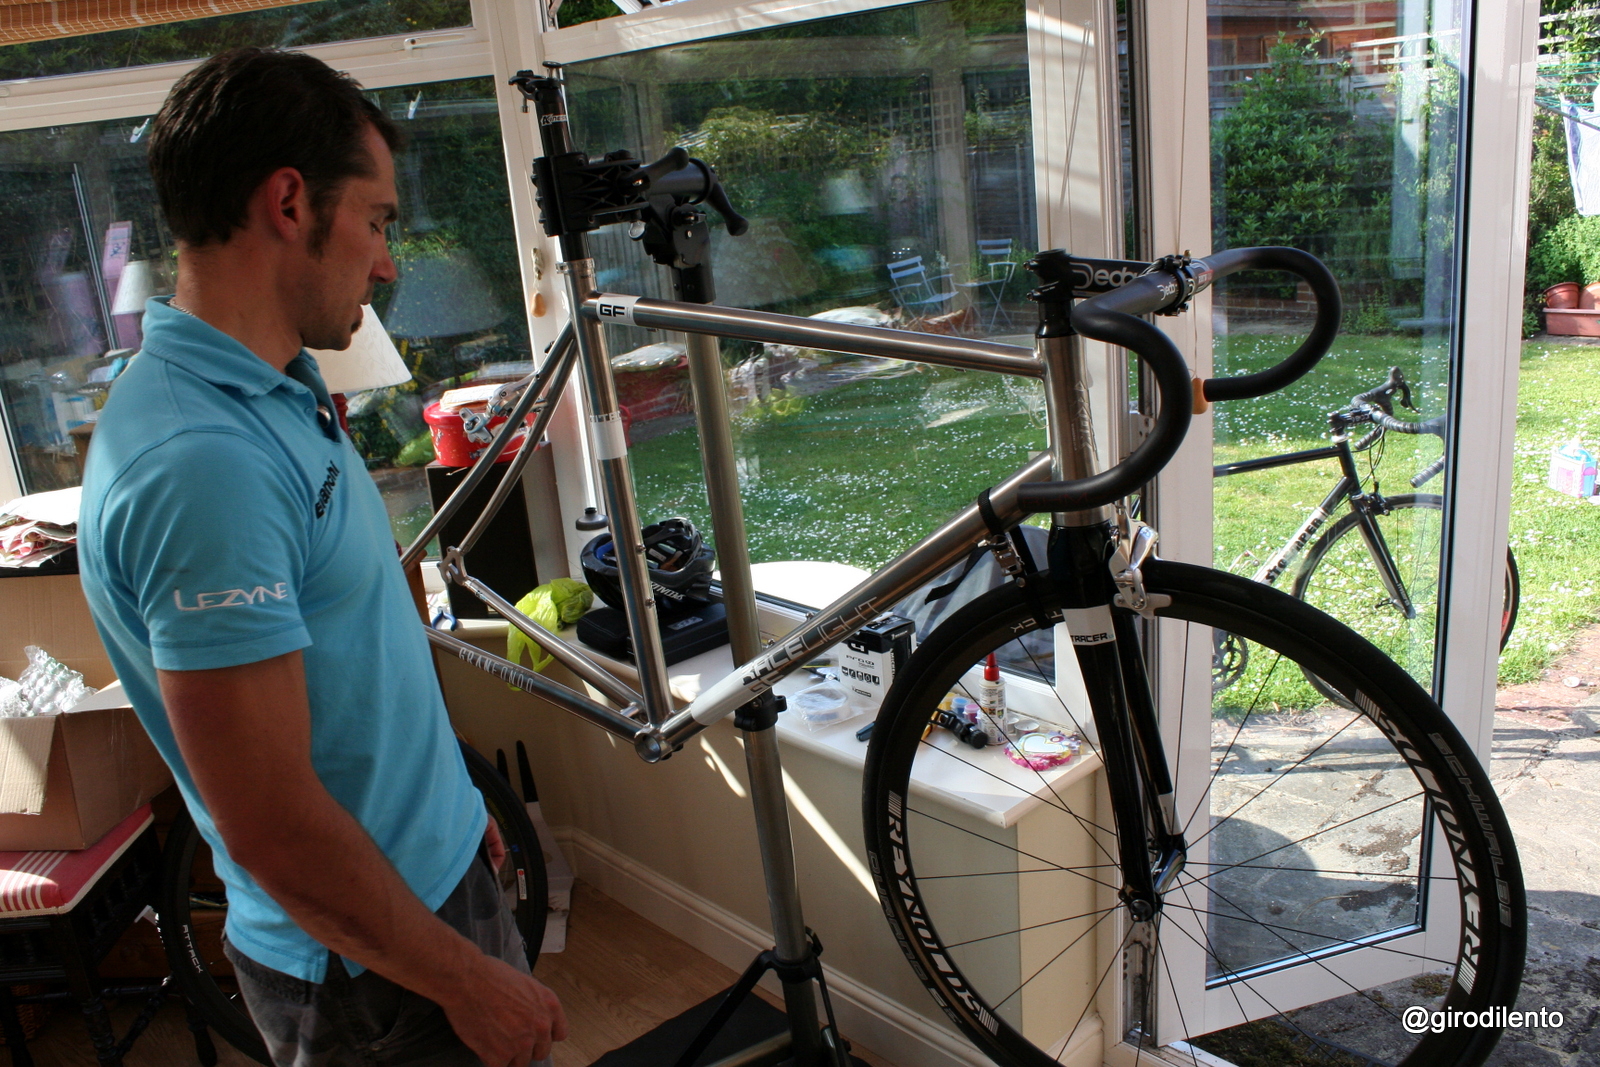
James checking I’d not screwed anything up …. yet 🙂
I hope this is useful or interesting – it’s far from exhaustive and if you’d like to learn to do it properly there are professional courses available that will give you the skills for life. These are my personal notes from a first attempt. The process I followed and that the bike was well built was in in no small part thanks to the guidance and help from James. Thank you very much!
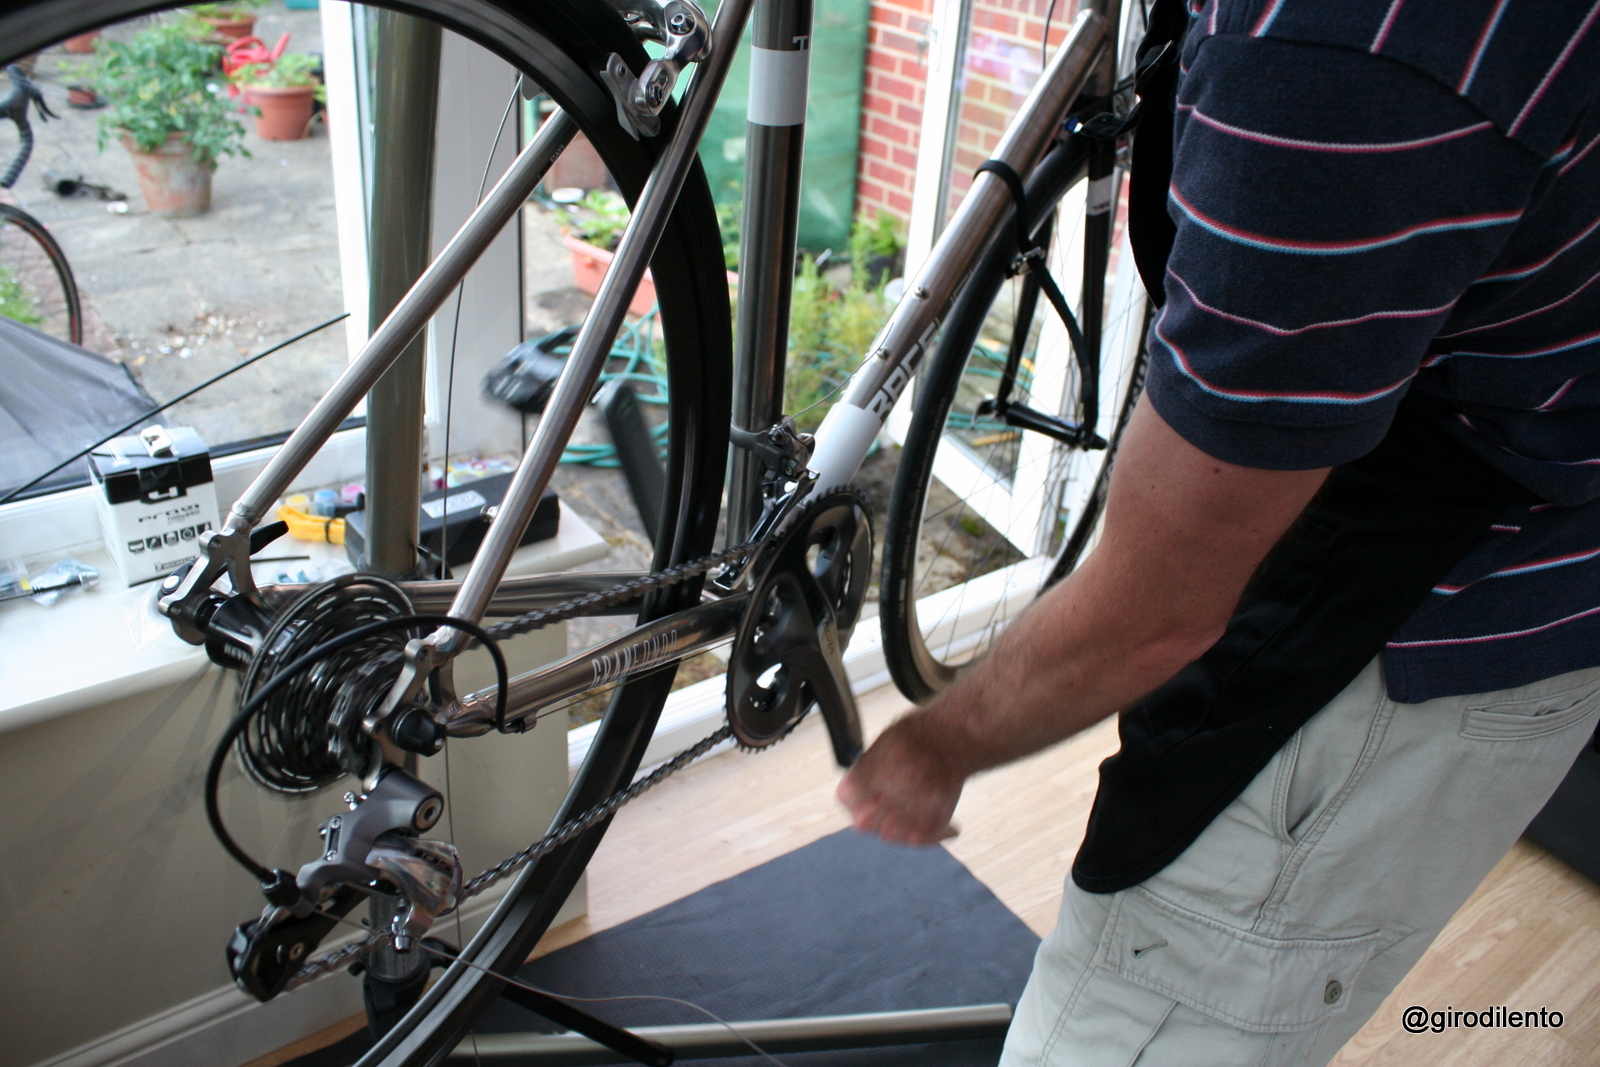
After James kindly fitted the mudguards
Thank you for reading.